

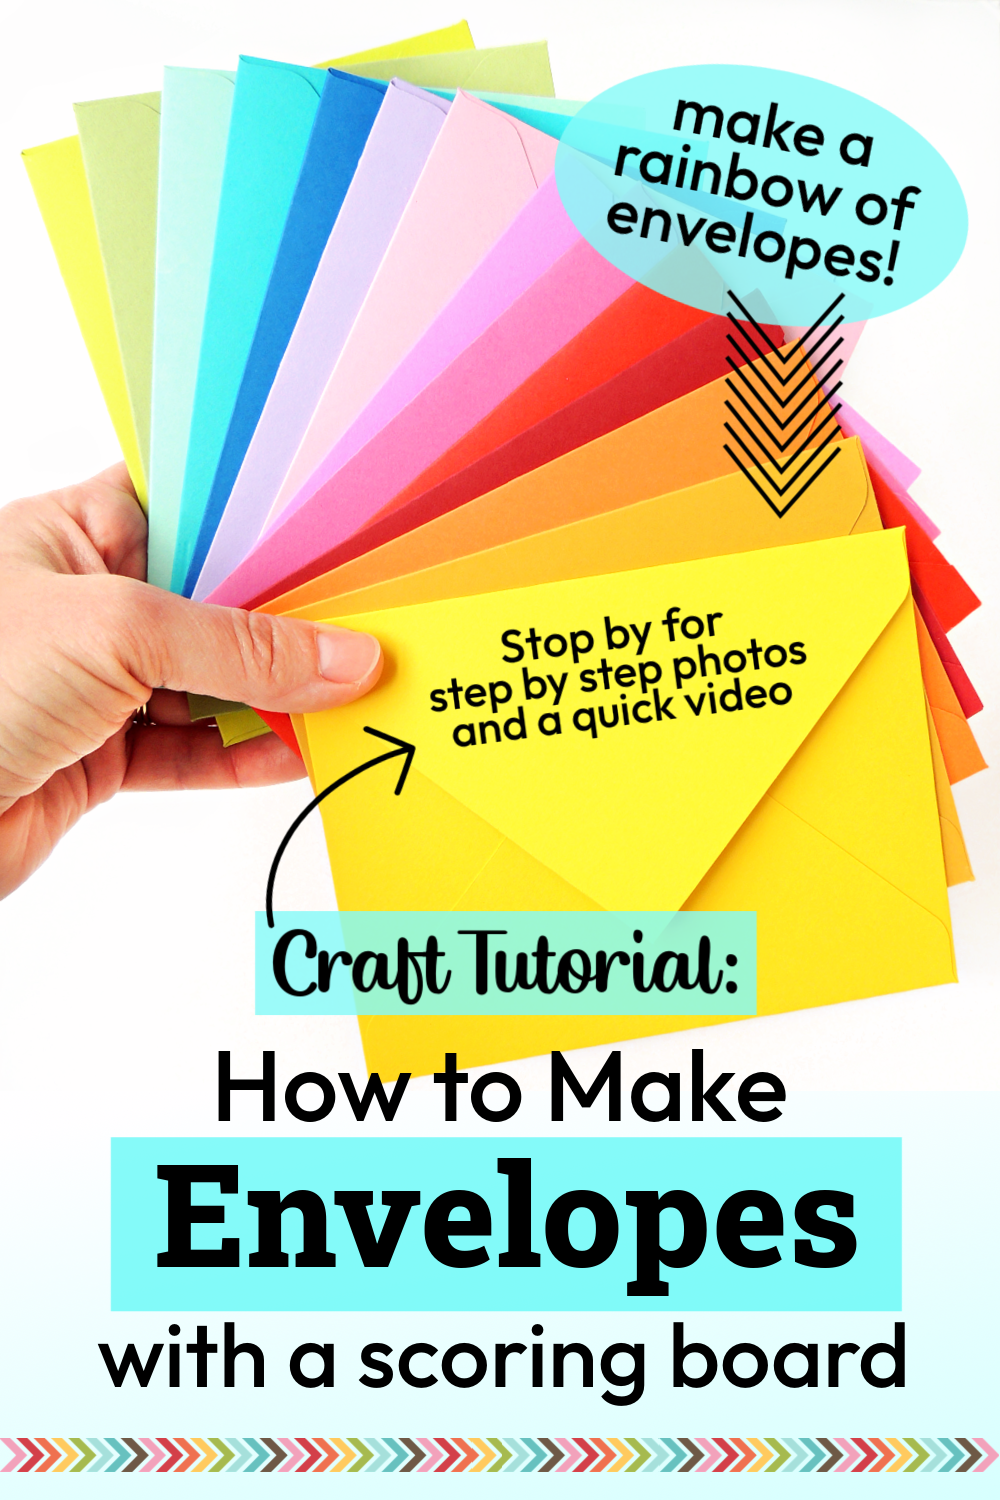
Would you like to learn to use a scoring board to make handmade envelopes? Follow today's simple envelope-making tutorial and then create envelopes in every color of the rainbow!
You'll find that this tutorial applies to many brands of scoring boards, so compare yours to my photos and see a list of comparable boards at the end of this post.
You'll find that this tutorial applies to many brands of scoring boards, so compare yours to my photos and see a list of comparable boards at the end of this post.
This post contains affiliate links. When you shop through my links I may receive compensation at no cost to you. Thank you from the bottom of my crafty heart!
STEP 1
The handy triangle and scoring tool are tucked away on the back side of the scoring board. You'll want to grab those first, and set the triangle along the top length of the scoring board. You'll feel it fit into place. (Just a note. . .it doesn't actually matter where you align the triangle along the top of the scoring board. We won't be using the measurements on the actual board for this project.)

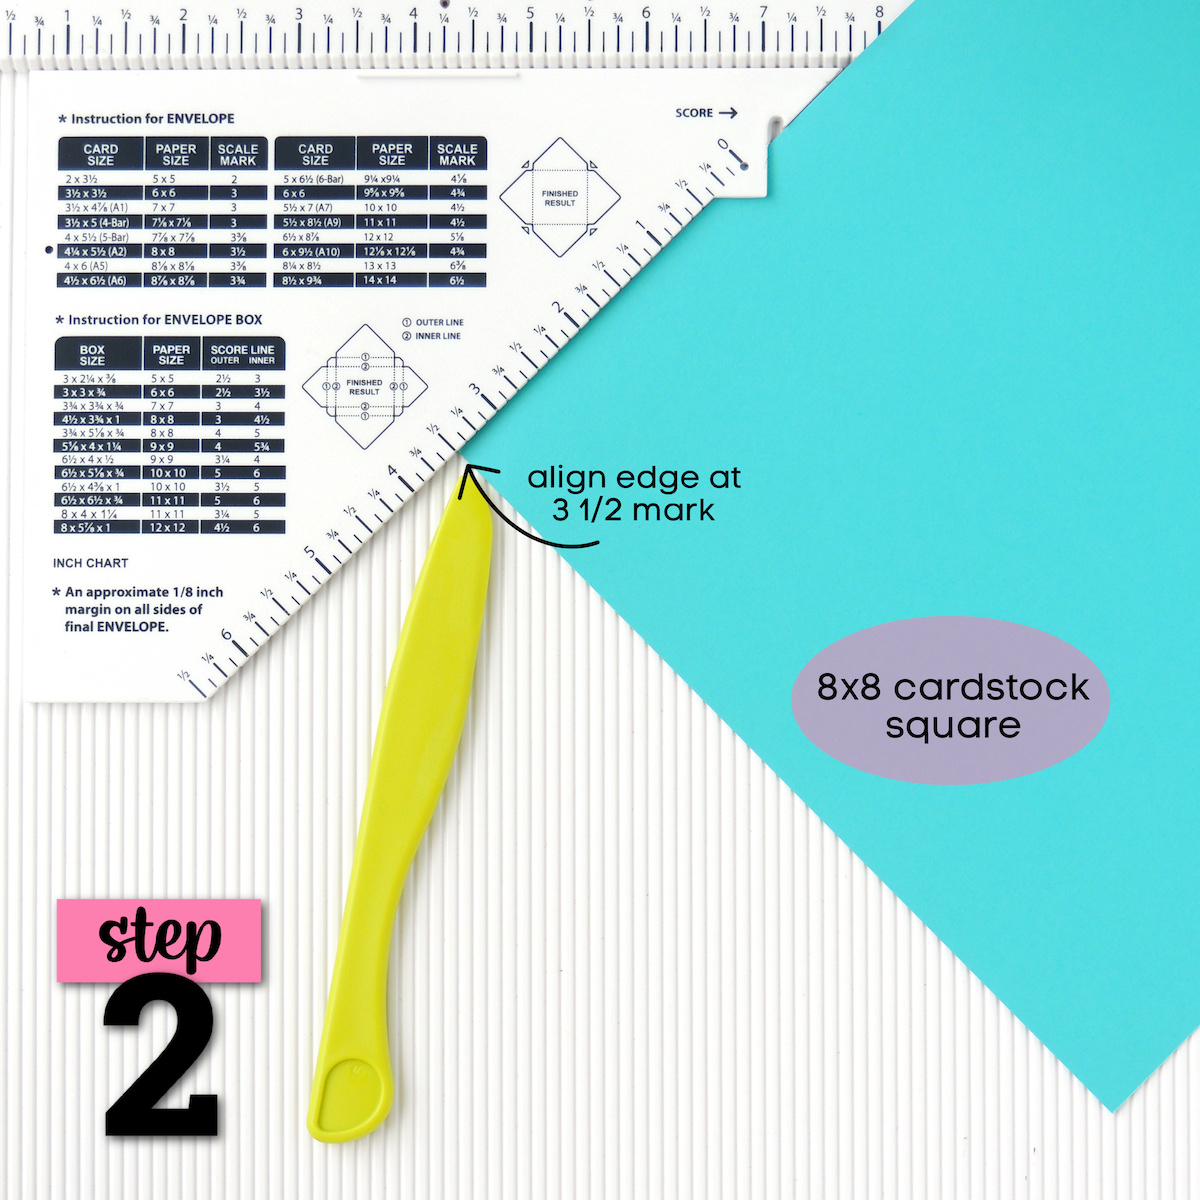
STEP 2
The SCALE MARK column shows that you need to line your paper up at the 3 1/2 mark, so align a corner edge of the cardstock as shown above.

STEP 3
Score straight down, along the notch where it says SCORE. (You'll want to use your other hand to keep the triangle piece and paper secure while you score, something I was unable to do while photographing!) Are you with me so far? If I've lost you, don't worry - there's a video down below!
STEP 4
Next, turn your cardstock CLOCKWISE one turn. Line up the scored line with the horizontal edge of the notch. (Don't worry about that 3 1/2 line anymore.) Score again, straight down at the vertical edge of the notch.

STEP 5
Next, REPEAT! Turn clockwise again, line up at the horizontal notch edge, and score at the vertical notch edge.

STEP 6
Once you've scored all four lines, use a corner notch like the 1-2 Punch: Corner Rounder & Notch or a pair of scissors, and cut out the four triangles. I've done two of them in this photo. After that, you're ready to fold in your sides, and secure two of them with adhesive. Liquid glue or 1/8" two sided tape work perfectly.
Want to see this whole process in a quick one-minute video?
And now, you're basically a pro, and ready to create envelopes in EVERY color of the rainbow!

Let's talk for a minute about different brands of scoring boards:
Full disclosure - I have not tried this technique on other boards, but based on video tutorials I've seen, this technique should work on the following brands of scoring boards. You'll find that the triangle guide piece is identical (or almost) and the process will be the same for:
Shop These Great Supplies at Spellbinders Paper Arts:

For today's tutorial, I used the FSJ Scoring Board originally sold by Spellbinders.
Spellbinders now sells the Scor-Pal, and coordinating Scor-Envi Template which is another super easy to use scoring board that you can make envelopes with.
Looking for an envelope tutorial for the Scor-Pal? Check out this easy to follow PDF.


(this is the same tool that I used, it's just been rebranded in different colors!)


Pin it for later!
No comments:
Post a Comment
You're so sweet to say HELLO! :)