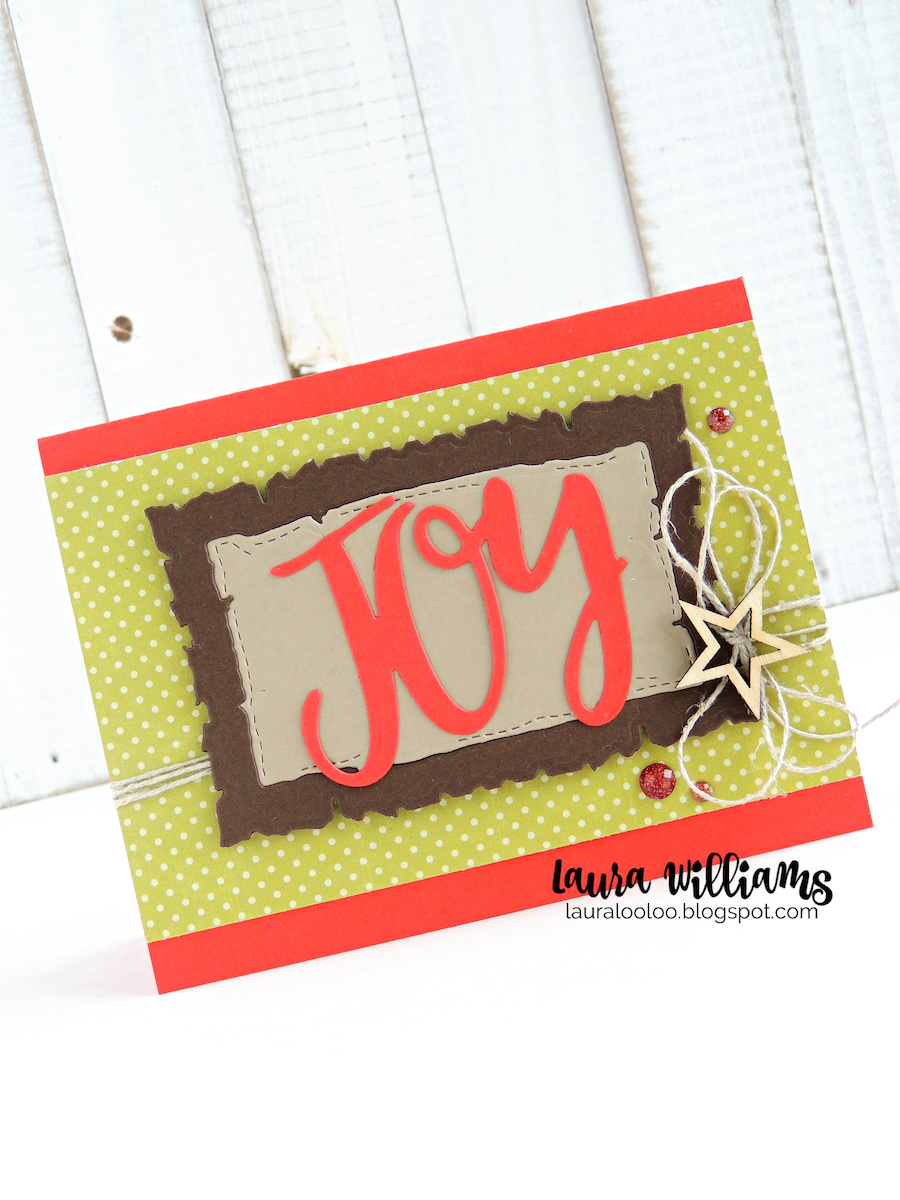
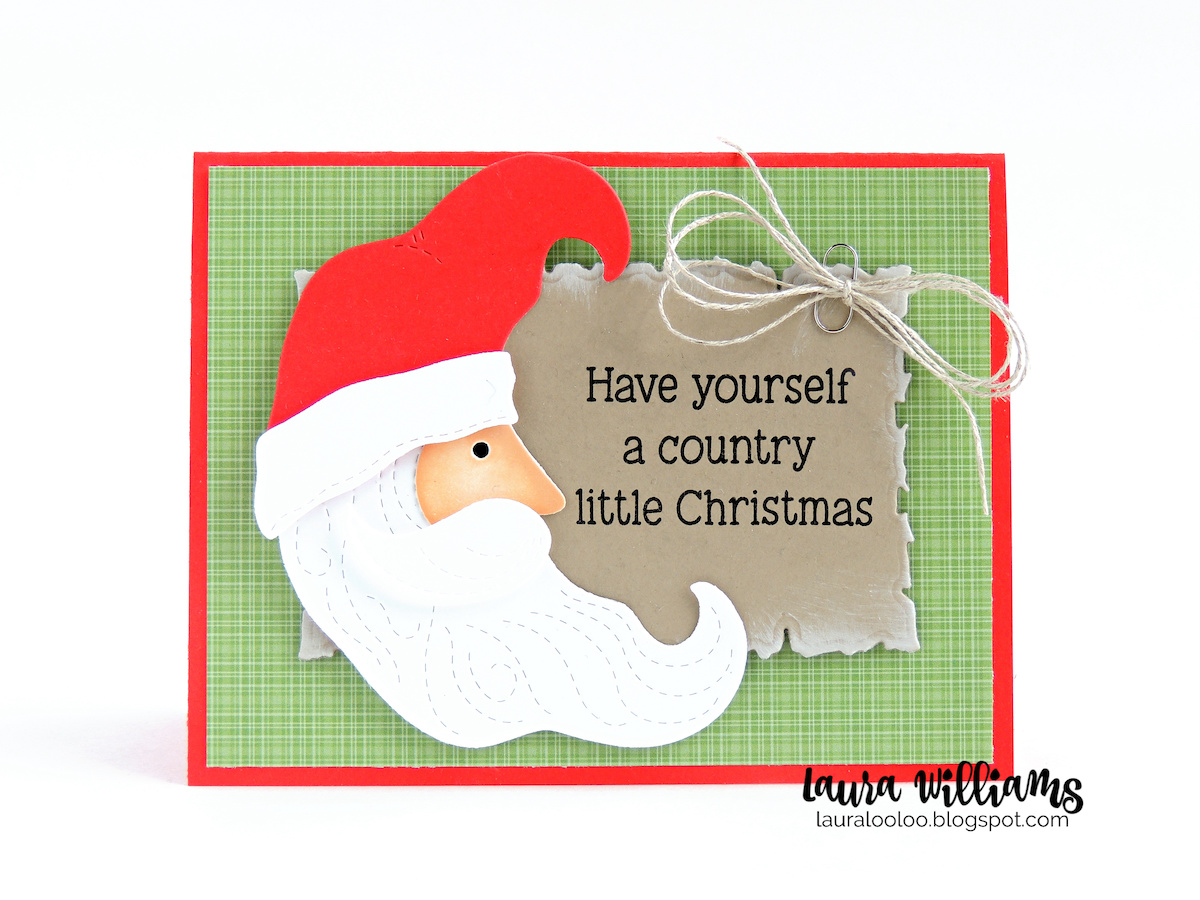
The Christmas card-making season is upon us, and I'm always on the hunt for simple Christmas cards that aren't complicated or overly fussy - but still pack a punch of cuteness, and festive Christmas fun. Today's card are just that - simple die cutting, and extra simple stamping, plus they have a country farmhouse twist that's perfect for a cozy Christmas card!
This blog post contains affiliate links. When you shop through my links I receive compensation at no cost to you. Thank you from the bottom of my crafty heart!
Today is Theme Day on the Impression Obsession blog, and our theme is... Christmas! I have two card ideas today and both are based around the Deckled Frame Dies. I'd like to point out that this is NOT a Christmas die set, so you're going to be using this one all year long, but it's just perfect for our cozy country Christmas cards.
Cut the Deckled Frame as a large rectangle, as seen in the card below, or cut the center out to create a frame (as seen above, and if you want, piece it together with the stitched inner rectangle.) There are lots of ways to layer and play with this set of three dies.
To add to the Deckled Frame, on the card above I simply added a beautiful (and simple to cut) JOY and finished off with some twine and embellishments. If you need a flat card for mailing, just leave off some of the thicker embellishments, and omit the dimensional foam tape.
The next card features the Santa Moon die. How sweet is he? To create this festive guy: cut him twice - from white cardstock, and then from red to layer the hat together. Sponge peach ink onto the face and add a scrap of black cardstock behind the eye. I stamped a simple sentiment onto the Deckled Frame rectangle, and then brushed some white ink around the edges. A simple bow finishes this one off.
Stop on over to the Impression Obsession blog today, where you'll find a list of all the designers participating in this week's Christmas theme. I know they'll have some fabulous holiday inspiration to share with us!
Stop on over to the Impression Obsession blog today, where you'll find a list of all the designers participating in this week's Christmas theme. I know they'll have some fabulous holiday inspiration to share with us!
Shop the Supplies on Today's Cards:
I'm so glad you stopped by today. Let's connect again - subscribe so you don't miss a blog post!


2 comments:
Layers of fun! Thanks for sharing!
Love, love, love them! So graphic and cool.
Post a Comment