Showing posts with label distress inks. Show all posts

Thursday, March 2, 2023

Beautiful Butterflies in the Newest Limited Edition Set from Impression Obsession

A new month means it's time for a new limited edition stamp set from Impression ObsessionThis month's set is lovely for spring and summer, featuring sweet butterfly and floral images. Today, I have a simple inked and heat embossed card idea featuring the stamps from this pretty new stamp set.

This blog post contains affiliate links. When you shop through my links I receive compensation at no cost to you. Thank you from the bottom of my crafty heart.   

To create this card, start with simple heat embossing with the image of your choice. I wanted to add an inky ombre background to the cluster of butterflies I stamped, so I used Tim Holtz Distress Oxide inks in shades of pink, orange, and yellow. Distress Oxide Inks interact with water, so after blending colors, I splattered just a bit of water across the card to create some water spots. A little bit of matting on a bright colored card base finished off this simple card idea. Any of the images in this stamp set would look lovely like this - and for my "I-hate-to-color" peeps. . . .there's no coloring required with this idea! ;)

Here are the important details on the Stamp Release Blog Hop:

  • On March 1st & 2nd the Impression Obsession Team is sharing projects with the NEW Limited Edition Red Rubber Stamp Set! You can find a list of participants on the Impression Obsession Blog each day through the event.
  • We are giving away TWO Impression Obsession Grab Bags for the event -the more you comment through our Stamp Release Celebration the more chances to win!
  • All comments for each of the event days will be open until March 7th at 8pm CT and winners will be announced the next day on the IO blog.
Don't Miss a Stop on Today's Hop!
Laura Williams <<you are here!>>

Shop the Supplies on Today's Blog Post:
Distress Oxide Inks:

 I'm so glad you stopped by today! Let's connect again - subscribe so you don't miss a blog post!

Wednesday, February 2, 2022

These Two Colorful Cards Are Perfect for Encouragement or Graduation!

Welcome to Day 2 of the Impression Obsession February Release Blog Hop! Today I'm excited to features some beautiful silhouette style rubber stamps paired with inspiring sentiments that together create the perfect handmade card to celebrate all kinds of accomplishments, like graduation, a new job, weight loss, or meeting a hard-earned goal. 

This blog post contains affiliate links. When you shop through my links I receive compensation at no cost to you. Thank you from the bottom of my crafty heart!
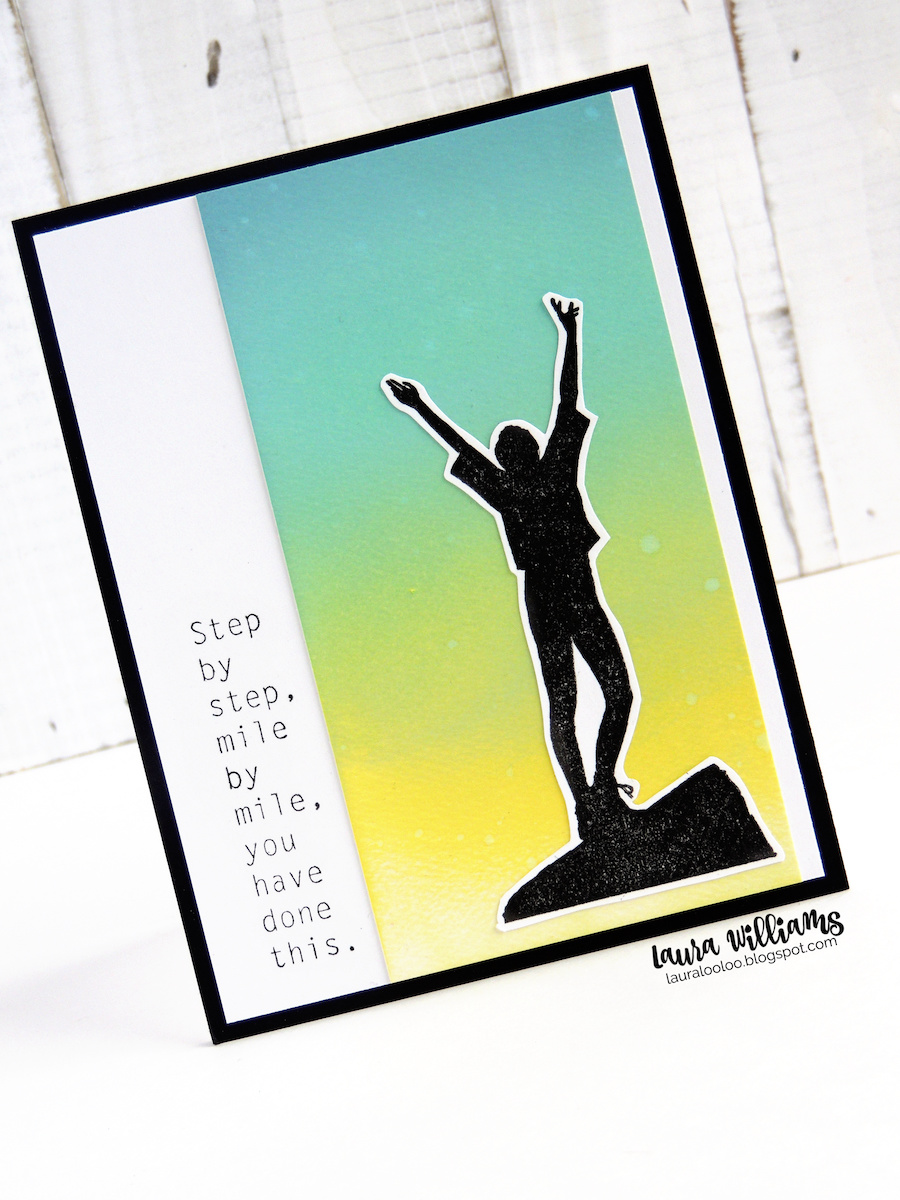
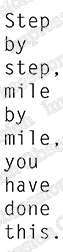
Step by step, mile by mile, you have done this! Celebrate the achievements of people you love, with a handmade card. This idea is perfect for accomplishments whether finishing an actual race, graduation, or even finishing a big test. Celebrate successes with these beautiful sentiments and silhouette stamps from Impression Obsession. Stop by my blog for more ideas using these stamps and other handmade cards with stamping and diecutting.
Silhouette images are really fun to play with because they just have so many inky possibilities. Stamped simply in black, they allow you to get creative with backgrounds, using stencils, sponges, ink blending and more. To create today's first idea, blend Distress Oxide Inks across a piece of watercolor paper. Then  stamp the Mountaintop Silhouette image onto white cardstock and fussy cut it to add on top of your colorful panel. Finish the card off with a simple sentiment like Step by Step. 
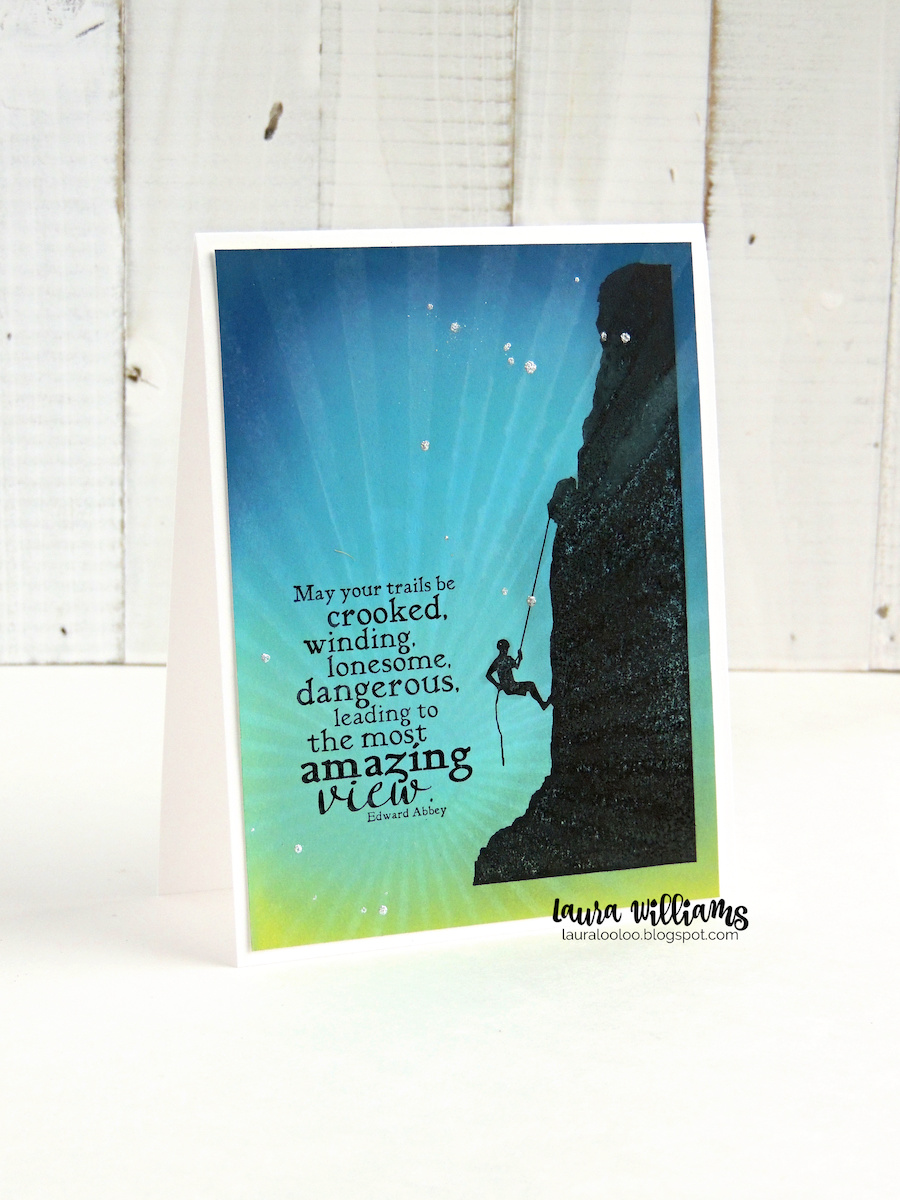
May your trails be crooked, winding, lonesome, dangerous, leading to the most amazing view. (Edward Abbey) Using stamps from Impression Obsession, you can make the coolest handmade cards to celebrate graduation, or any success or achievement. It might be to congratulate a loved one on an actual physical achievement like running a race or climbing a mountain, or to celebrate graduation, a new job, a big move, or just encourage them along the way. These silhouette stamps are really fun to use with inky techniques using distress inks or the gel press, to make gorgeous backgrounds. Stop by my blog for more ideas using stamping and diecutting!
The next card also has a Distress Oxide inky background, but after inking the panel, lay a stencil on top and mist with water. Distress Oxide inks react with water and magically allow the stencil pattern to appear. Then, simply stamp the image and sentiment onto the panel once it's dry. (I splattered some Spellbinders Sparkle Silk at the end, because it's always my favorite finishing touch!)

I suggest using a MISTI or other stamping platform when using silhouette stamps, because it allows you to get a really rich, dark color on solid images. 
 
Here are the important details on this week's blog hop:

  • We're giving away THREE Impression Obsession $25 gift certificates for our two-day blog hop - the more you comment, the more chances to win, so be sure to visit all the designers! (This is day 2 - find day 1 HERE)
  • All comments for both days will be open until February 8th at 8pm CT. All winners will be announced on February 9th on the Impression Obsession Blog.
  • Find all of Impression Obsession's newest releases HERE
  •  Check out the awesome sale section on the IO website. In particular, their assortment of discontinued clear stamp sets has some amazing deals on THE cutest stamps!

Here's the lineup of today's hop!

Supplies on Today's Cards:

Thursday, December 23, 2021

Elegant and Rich Christmas Card Idea With Glimmer and Gold

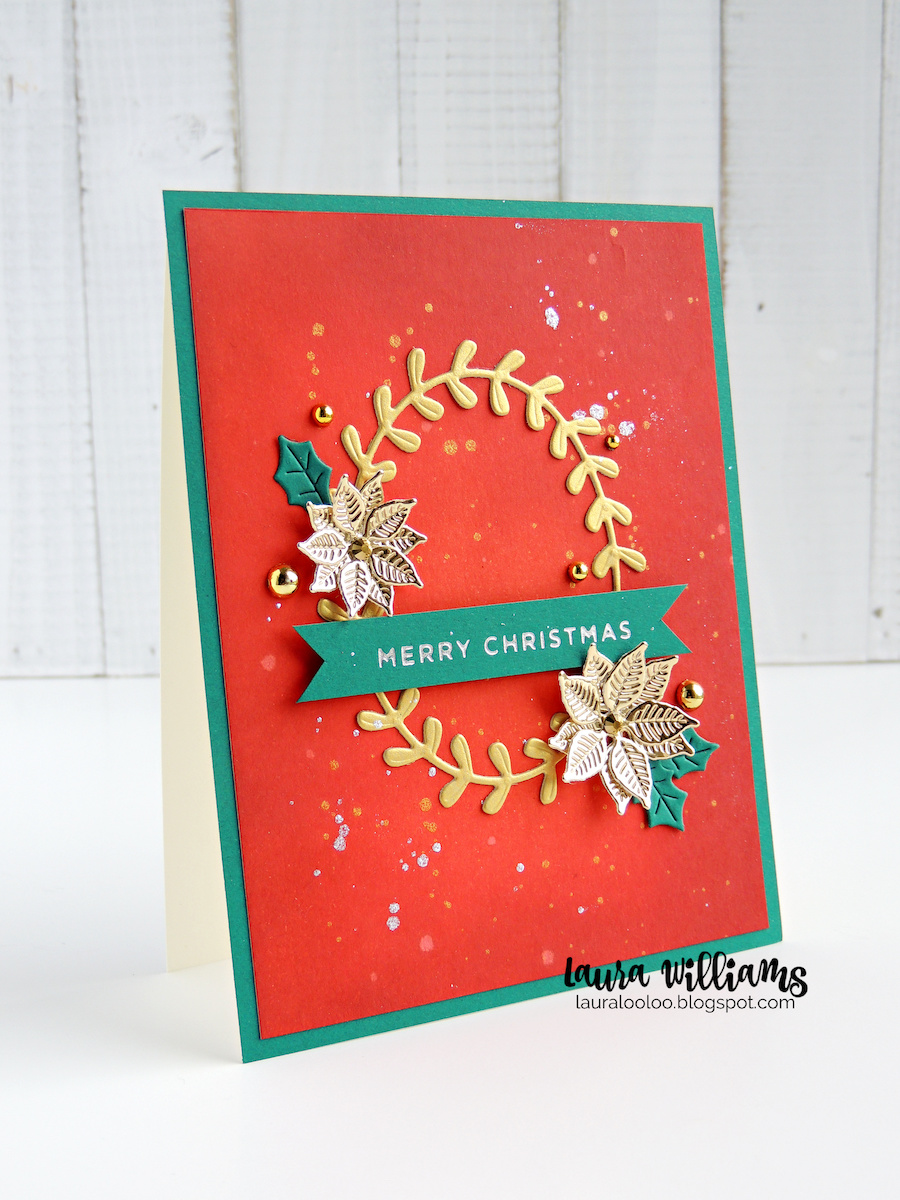
Sometimes the timeless combination of bold red and green remains just perfect for Christmas. Especially when there's a pop of warm gold accents. Simple die cutting, a Glimmer hot foil sentiment and a beautiful inky background create today's elegant Christmas card idea.

This blog post contains affiliate links. When you shop through my links I receive compensation at no cost to you. Thank you from the bottom of my crafty heart!
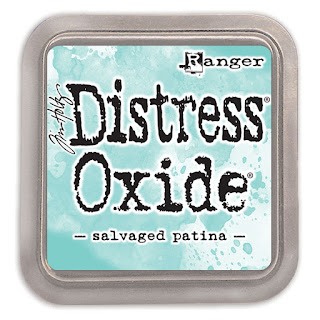
Have you played with Distress Oxide inks? They're fairly new to me and I'm still learning all of the cool effects you can achieve with them. This card got its start with a panel of blended  ink in the beautiful rich red of Candied Apple. After sponging lots of color on, I added a few splatters of water, and a few splatters of Silk. Next up, simple die cutting of a wreath and poinsettias to create an elegant handmade Christmas card. If you're looking for more simple handmade holiday cards with stamping and die cutting, I'd love for you to stop by and find some more inspiration!
Have you played with Distress Oxide inks? They're fairly new to me and I'm still learning all of the cool effects you can achieve with them. This card got its start with a panel of blended  ink in the beautiful rich red of Candied Apple. After sponging lots of color on, I added a few splatters of water, and a few splatters of Silk (in Gold, and also Sparkle - my favorite!)
This idea for a handmade Christmas card is bold and elegant with rich reds and greens. Simple die cutting, and a sentiment is all it takes to create this Christmas card idea. You could create this look on a variety of backgrounds. You could ink any color you like, stamp a background, create a Gel Press print or even just use a piece of red cardstock. This card can be as simple or detailed as you want. Think about how you can take this idea and make it your own!   TIP: You could even change up the colors, sentiment, and add some spring blooms instead of poinsettia to make it a fresh springtime card with the very same layout.)
You could create this look on a variety of backgrounds. You could ink any color you like, stamp a background, create a Gel Press print or even just use a piece of red cardstock. This card can be as simple or detailed as you want. Think about how you can take this idea and make it your own! 

TIP: You could even change up the colors, sentiment, and add some spring blooms instead of poinsettia to make it a fresh springtime card with the very same layout.) 
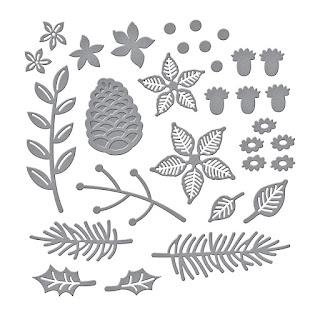
For this traditional Christmas card in red and green, I die cut the sweet layered poinsettias from Spellbinders' Christmas Blooms die set. This set is absolutely amazing for holiday cards, tags, and crafts. It's a set you'll want to keep in your stash all year long though, because some of those flowers can be used for any season, plus there's some extra leaves and greenery you'll want handy. This set will complement your other floral die sets quite nicely!

Because this IS a traditional Christmas card, I added the sweet layered poinsettias from Spellbinders' Christmas Blooms die set. This set is absolutely amazing for holiday cards, tags, and crafts. It's a set you'll want to keep in your stash all year long though, because some of those flowers can be used for any season, plus there's some extra leaves and greenery you'll want handy. This set will complement your other floral die sets quite nicely!
Are you looking for simple and elegant handmade Christmas card ideas? This card features simple die cutting and an inky background but there are lots of ways to take this idea and customize it for your own taste and supplies. Stop by and see how to make this lovely holiday card, and find suggestions of how to change it up and make it yourself!
Another die for all year long is that sweet wreath. It's not even a holiday die, but it's perfect right? You'll find it as part of the Cameo die set, and I think it is sweet and simple to let those poinsettia shine! 
There's lots of shimmer and shine on today's handmade Christmas card idea. If you love the rich combination of a traditional red and green holiday card, you'll love this one with highlights in metallic gold cardstock and embellishments. Stop by for more inspiration and to see just how to make this card yourself for Christmas!
The last important element of this card is the shiny shimmer of metallic elements. 
  • Silk: We already discussed the splatter of the Gold and Sparkle Silk. It's the perfect finishing touch for every card!
  • Metallic Cardstock: Specialty cardstock creates a big impact. The wreath is Brushed Gold cardstock, and the poinsettia is from Mirror Gold Cardstock - they complement each other well, and create some balance. 
  • Glimmer Hot Foil:For just a little more shine, a simple hot foiled sentiment from the 
  • Fashion Gold Accents: Ohhhh, those shiny 3D dots! They remind me of tiny Christmas ornaments on this card!
Whether your week is festive and chaotic, or calm and quiet, know that you are LOVED and appreciated! I hope you get some crafty time in this week! Merry Christmas to YOU! xoxo

Thanks so much for stopping by today! There's lots more inspiration to share so subscribe so you don't miss a blog post! 

Shop the Supplies on Today's Card: