Showing posts with label die cut obsession. Show all posts

Monday, August 29, 2022

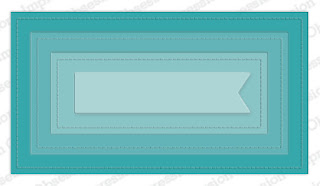
Try These Three Simple Card Making Ideas With Nesting Slimline Dies

Nesting dies come in a variety of shapes and sizes. They make it easy to add a quick border or matting for handmade cards. With the popularity of mini slimline cards, you'll even find nesting rectangle dies in that shape/size too. There's so much more you can do with nesting dies though, and today we'll check out three cards - two mini slimlines, and a traditional A2 size that all feature mini slimline nesting dies - and you might just find a creative new way to use your rectangles!

This blog post contains affiliate links. When you shop through my links I receive compensation at no cost to you. Thank you from the bottom of my crafty heart!

Most of today's ideas could easily apply to standard slimline dies, or even just regular A2 size rectangle dies. Look at today's ideas, and then see how you can apply the inspiration to the products you have in your stash. (And of course, if you feel compelled to shop, I'll hook you up with all the links you need. ;) 
Nesting dies come in a variety of shapes and sizes. They make it easy to add a quick border or matting for handmade cards. With the popularity of mini slimline cards, you'll even find nesting rectangle dies in that shape/size too. There's so much more you can do with nesting dies though, and today we'll check out three cards - two mini slimlines, and a traditional A2 size that all feature mini slimline nesting dies - and you might just find a creative new way to use your rectangles!
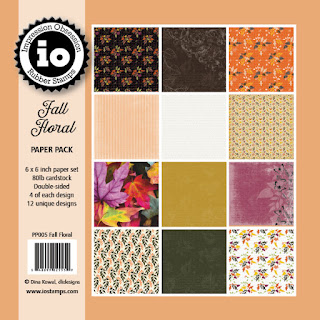
All three of today's cards feature the Fall Floral 6x6 patterned paper pack from Impression Obsession. I sanded the edges and tore/bent/folded bits of it to add distressing and dimension. Let's check out three ways to use rectangle dies on your cards:

Layer It Up

The Congratulations card is the most basic and obvious way to use rectangle nesting dies - it's pretty straight forward. Two rectangles in different sizes. But, the pinked edges on the larger one add a dose of personality, don't you think? A simple sentiment on a skinny banner finish off this cutie.

Tear It Up

Next up, let's look at the Paper Hug card. Simply die cut two of the same rectangle with two different papers. Then tear one of them, and layer them back together. The pop of white core adds some interest to this layout. Again, a simple sentiment, (plus a few staples) finish off this card. 

Collage It Up

Lastly, the Miss You card is a standard A2 size. I started with the same torn layer collage as above. But then I added a smaller skinny rectangle on top to bring in another layer of color. (Don't you love the pinked square for the sentiment too?) 

All three of today's cards feature the Fall Floral 6x6 patterned paper pack from Impression Obsession. I sanded the edges and tore/bent/folded bits of it to add distressing and dimension. Let's check out three ways to use rectangle dies on your cards: Layer It Up The Congratulations card is the most basic and obvious way to use rectangle nesting dies - it's pretty straight forward. Two rectangles in different sizes. But, the pinked edges on the larger one add a dose of personality, don't you think? A simple sentiment on a skinny banner finish off this cutie. Tear It Up Next up, let's look at the Paper Hug card. Simply die cut two of the same rectangle with two different papers. Then tear one of them, and layer them back together. The pop of white core adds some interest to this layout. Again, a simple sentiment, (plus a few staples) finish off this card.  Collage It Up Lastly, the Miss You card is a standard A2 size. I started with the same torn layer collage as above. But then I added a smaller skinny rectangle on top to bring in another layer of color. (Don't you love the pinked square for the sentiment too?)
Today's three cards are fun and simple to make - and you could take this idea and use any kind of patterned paper or sentiments you want, making it a very versatile idea to duplicate! 

We're celebrating all things DIE-CUTTING today at Impression Obsession, so while you're in the mood, head on over to the Impression Obsession blog for a list of all the designers participating today. And then . . .go get crafty! xoxo

 Shop the Supplies on Today's Cards:
love using the Magic Mat from scrapbook.com with my die cutting machine, because it alleviates those pesky cutting lines on the underneath side of die cut shapes. You know, the ones from your best used cutting plates? 

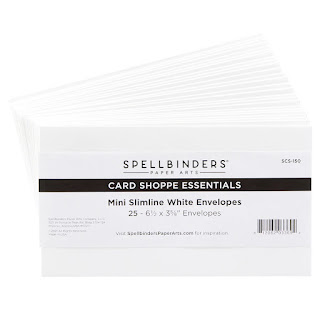
Looking for envelopes to mail your mini slimline cards? Check these out:

Let's connect again - subscribe so you don't miss a blog post! Plus, follow me on Pinterest where I'm sharing crafty projects every day!

Monday, May 16, 2022

Two Simple Card Making Ideas for Dads on Father's Day {and All Year Long!}

One great die set from Impression Obsession makes creating handmade cards for Dad a breeze, not only for Father's Day but also all year long. Today we'll look at two fun ways to make cards for Dad, for Father's Day or to celebrate how awesome he is any time of year. 

This blog post contains affiliate links. When you purchase through my links I receive compensation at no cost to you. Thank you from the bottom of my crafty heart.

Both of today's cards begin with the DAD die. (You might remember the matching MOM die I shared a few weeks ago in THIS blog post.) It's a great starting place for any occasion card, but obviously this first one is straight up Father's Day. This die set cuts the thin outside line, and the inner shape of the letters, so it's simple to die cut from two colors, and then mix and match the inner and outer pieces. 

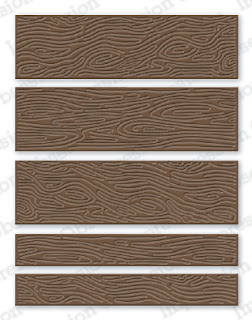
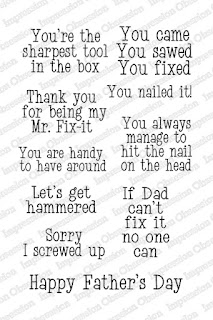
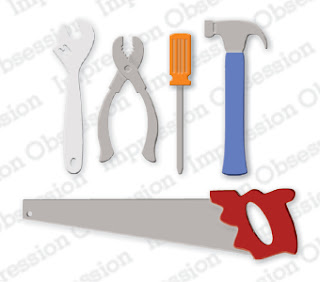
On the background I used the Wood Planks Dies. I die cut them from white  core cardstock (from CTMH) and then sanded them, which really brings the texture of these dies to life. I used a small hole punch to add silver cardstock "nails" onto the panels, added a die-cut hammer, and the simple sentiment strip.

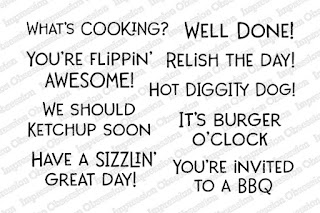
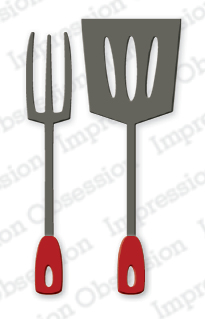
This second card uses the reverse pieces that I die cut initially. The first card used the white outline and black inside pieces, and now the opposite. It's so simple to make two cards at one time using this set. This card could be sent all year long - it would make a fun birthday card, or a card to say thank you. I paired the DAD die with a BBQ sentiment and grill tools, which feels like a fun card for summer.
Today is Die Cut Day on the Impression Obsession blog. It's the day we celebrate all things die-cutting! I hope this blog post gave you some great ideas for pulling together cards for the DADS in your life. I hope you'll hop around and check out all the die-cutting goodness the other designers have to offer.  
Shop the Supplies on Today's Cards:

love using the Magic Mat from scrapbook.com with my die cutting machine, because it alleviates those pesky cutting lines on the underneath side of die cut shapes. You know, the ones from your best used cutting plates? 
Before you go:
links updated 4/11/24

Looking for card ideas for mom too? You'll love the MOM die that matches the DAD die above! 


Monday, February 7, 2022

How To Diecut a Beautiful Paper Quilt With Sewing-Themed Craft Supplies

Hey there crafty friends! If you love paper-crafting (I know you do, or you wouldn't be here) and if you love cozy patchwork quilts, then you'll especially love today's cards. Before long, you'll be crafting darling faux quilts for handmade cards and scrapbook pages with simple diecutting and cardstock! 

This blog post contains affiliate links. When you shop through my links I receive compensation at no cost to you. Thank you from the bottom of my crafty heart!
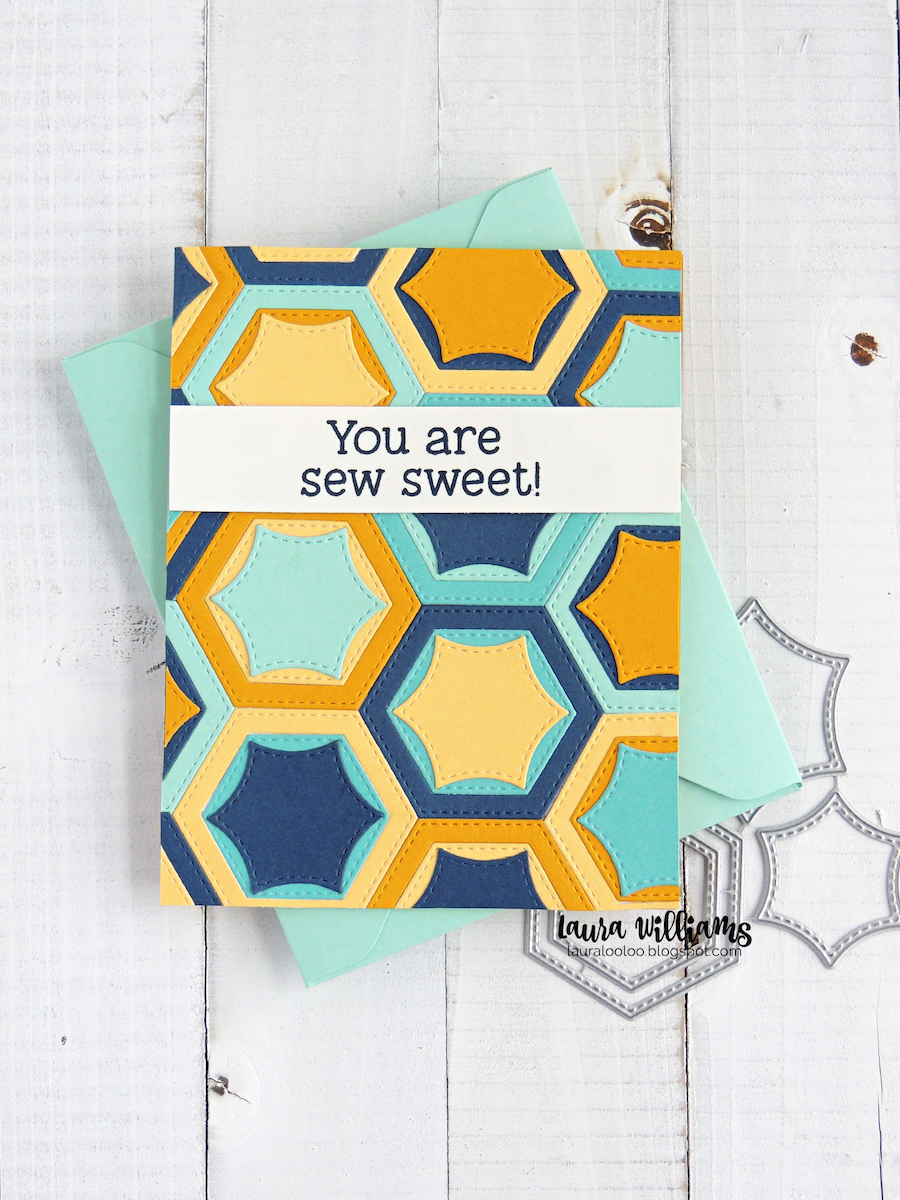
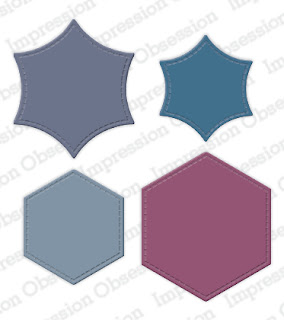
Today's cards feature the Hexagon Quilt Blocks die set. This simple die set has so many possibilities. For today's cards, I die cut a stack of shapes in coordinating colors and then created both cards at the same time, showing two different possibilities with this set. I can't wait to see the other ways you'll use this set to create beautiful quilted backgrounds!

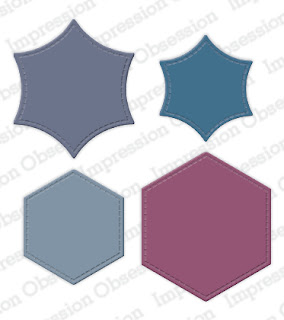
First, let's take a look at the shapes this set includes:
The small and large matching shapes can be layered together, or use the small and large together to cut out a negative space from the center (inlaid die cutting). BUT you can also layer the curved-side hexagon on top of the straight-sided, which allows some of the underneath shape to show through.  This gives lots of potential for layering and combining shapes.
The small and large matching shapes can be layered together, or use the small and large together to cut out a negative space from the center (inlaid die cutting). BUT you can also layer the curved-side hexagon on top of the straight-sided, which allows some of the underneath shape to show through.  This gives lots of potential for layering and combining shapes. 

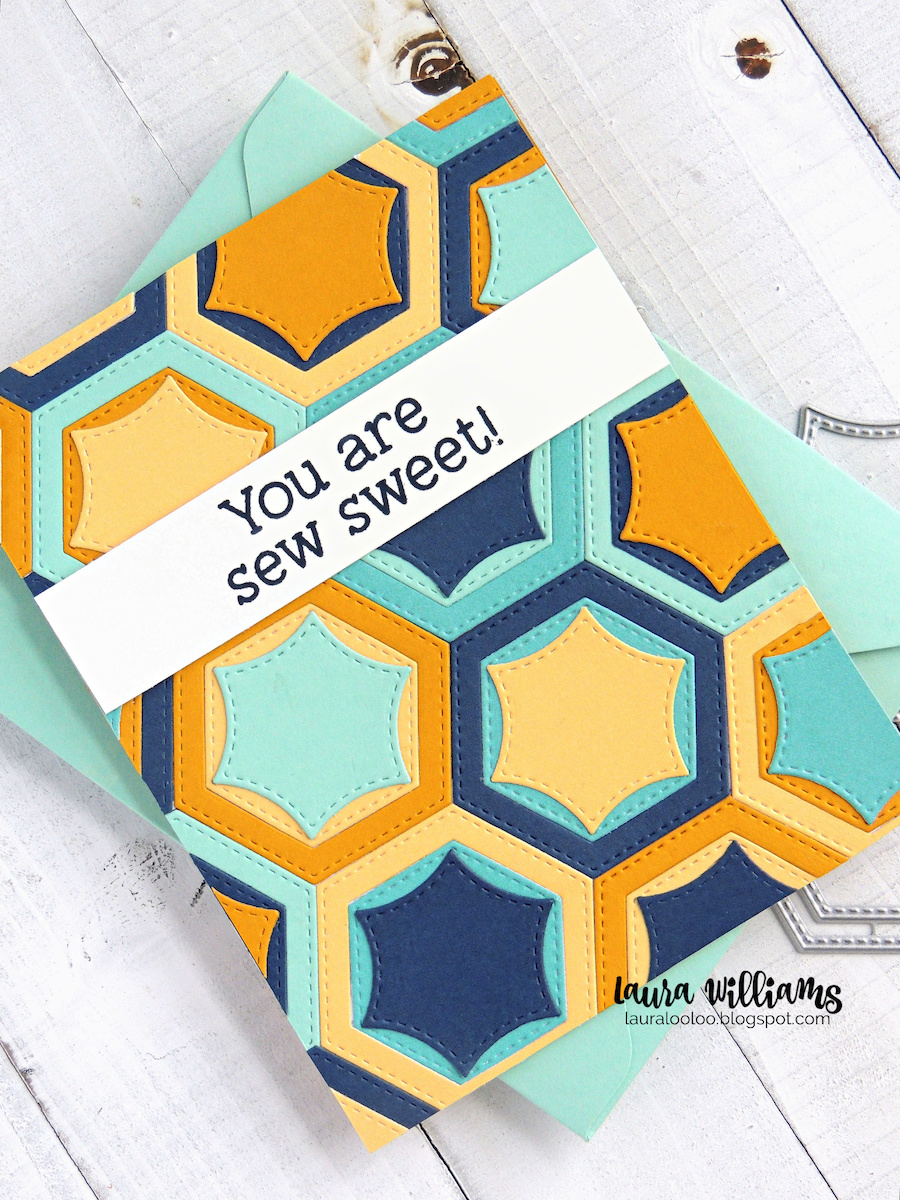
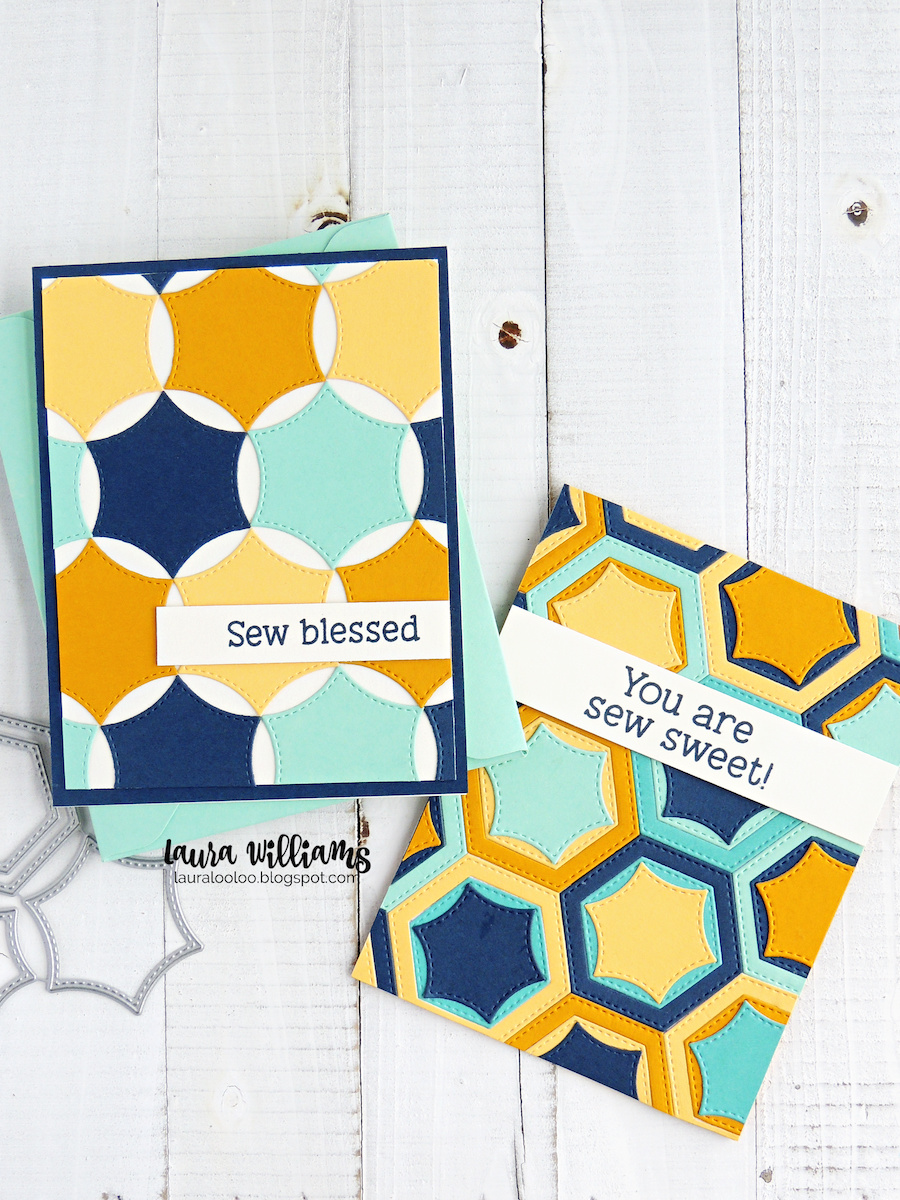
On the You are sew sweet card I used an inlaid technique, cutting the center out from each large straight-side hexagon and laying a different color inside. I covered the whole card with this technique. Then I added the small curved-side hexagon on top of each. This card has so much to look at, all it really needed was a simple sentiment to finish it off.
The small and large matching shapes can be layered together, or use the small and large together to cut out a negative space from the center (inlaid die cutting). BUT you can also layer the curved-side hexagon on top of the straight-sided, which allows some of the underneath shape to show through.  This gives lots of potential for layering and combining shapes.   On the You are sew sweet card I used an inlaid technique, cutting the center out from each large straight-side hexagon and laying a different color inside. I covered the whole card with this technique. Then I added the small curved-side hexagon on top of each. This card has so much to look at, all it really needed was a simple sentiment to finish it off.
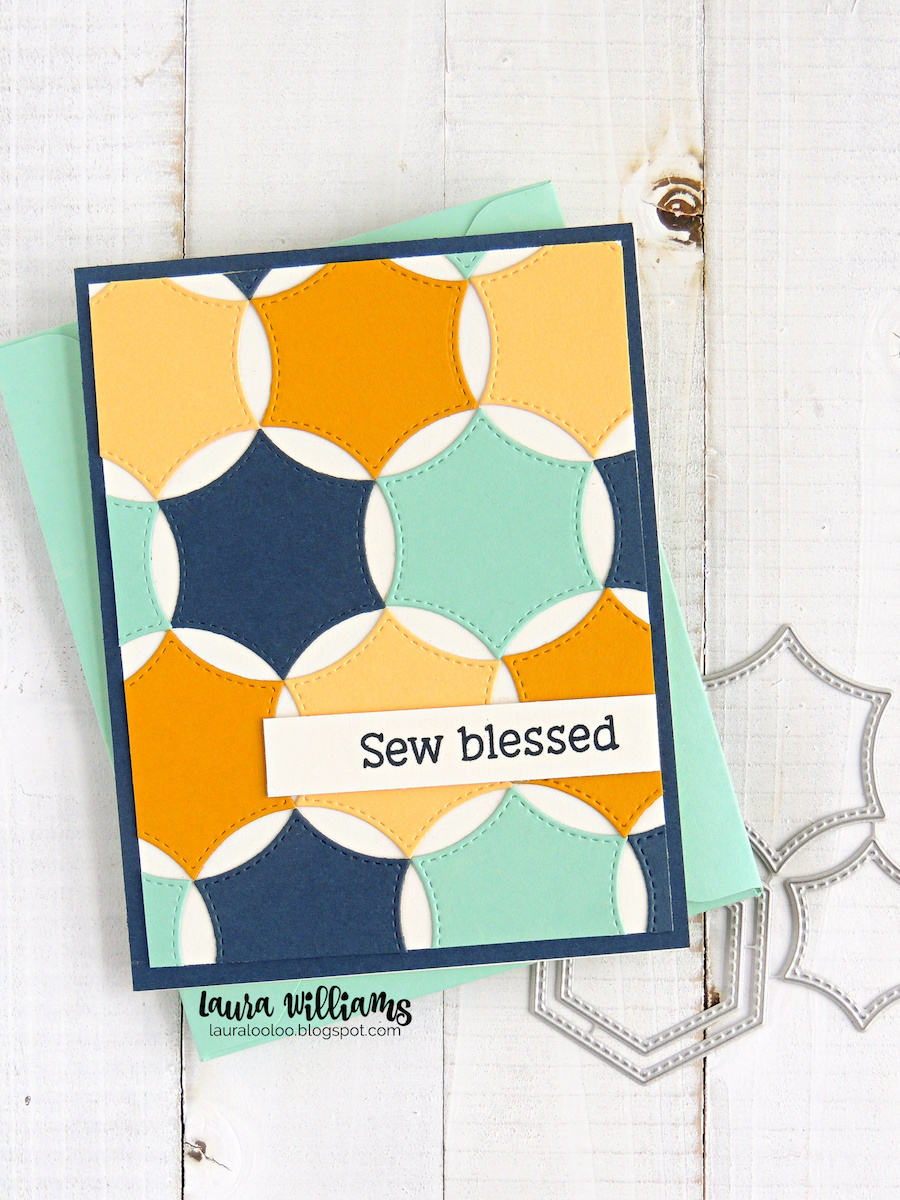
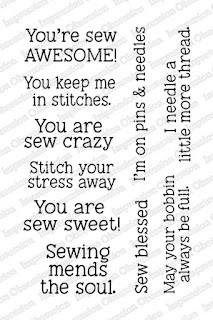
I still had lots of diecut pieces left, so I created a second card. This card begins with a cream cardstock panel, then just piece together the curved-edge hexagons together to cover the background. I suggest starting with a removable adhesive as you piece it together, in case you need to adjust anything as you're working. Once everything is straight and correct, just go back and add a little glue under each shape to secure it permanently. Again, just a simple sentiment for this one to keep the focus on the patterns and colors. The Sew Awesome Sayings clear stamp set is perfect for sewing and stitching themed cards.
Sew blessed! Make a handmade card with a quilting or sewing theme, using the Hexagon Quilt Block dies and Sew Awesome Sayings clear stamp set from Impression Obsession. On my blog you'll find two ways to use these products to make unique and beautiful cards.
Today is Die Cut Obsession Day on the Impression Obsession blog. Be sure to stop the IO blog to see a list of the designers participating.  I know they have lots of cute craftiness to share!

Here's a couple things you don't want to miss:

Shop the Supplies On Today's Cards:

love using the Magic Mat with my die cutting machine, because it alleviates those pesky cutting lines on the underneath side of die cut shapes. You know, the ones from your best used cutting plates? 


Make a handmade card that looks like a quilt with the Hexagon Quilt Block dies from Impression Obsession. On my blog you'll find two different ways to use this neat diecutting set for cardmaking and paper crafting.


Monday, December 6, 2021

A Stitched Christmas Star for All Year Long

Crafty peeps! It's Die Cut Obsession Day on the Impression Obsession blog. It's the day we celebrate all things die-cutting. And today I want to share an adorable stitched die cut star that looks perfect at Christmas time, but it's a die you'll use for all kinds of handmade cards, all year long!

This blog post contains affiliate links. When you shop through my links I receive compensation at no cost to you. Thank you from the bottom of my crafty heart!

Crafty peeps! It's Die Cut Obsession Day on the Impression Obsession blog. It's the day we celebrate all things die-cutting. And today I want to share an adorable stitched die cut star that looks perfect at Christmas time, but it's a die you'll use for all kinds of handmade cards, all year long!
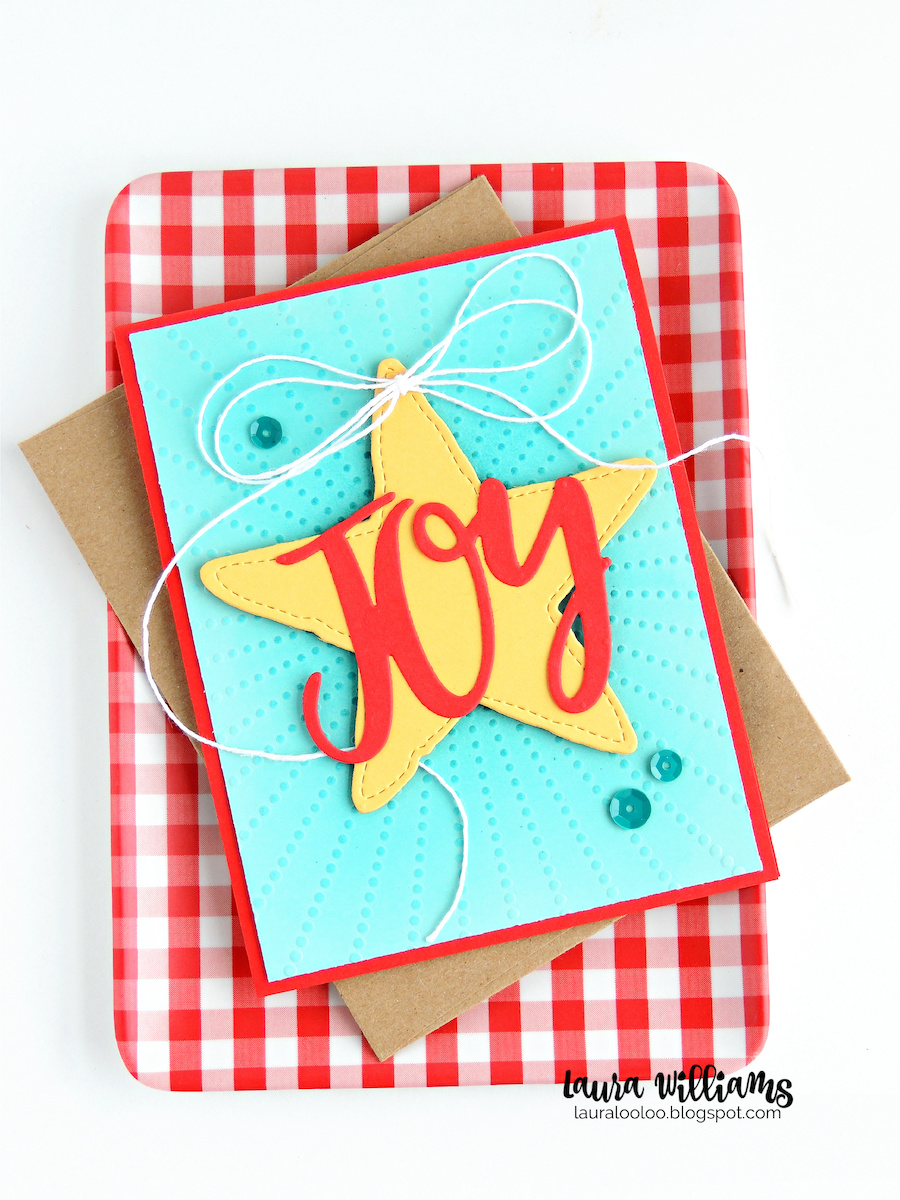
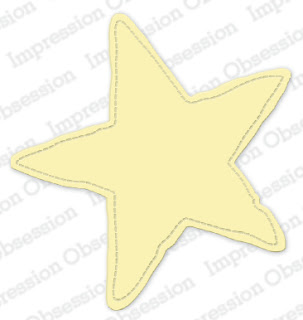
The Primitive Stitched Star has a few fabulous things going for it: it's BIG, perfect for filling a card base, it has darling stitched details, and it's great for Christmas. . . and birthdays. . . .and congratulations . . .and all occasion cards too! 

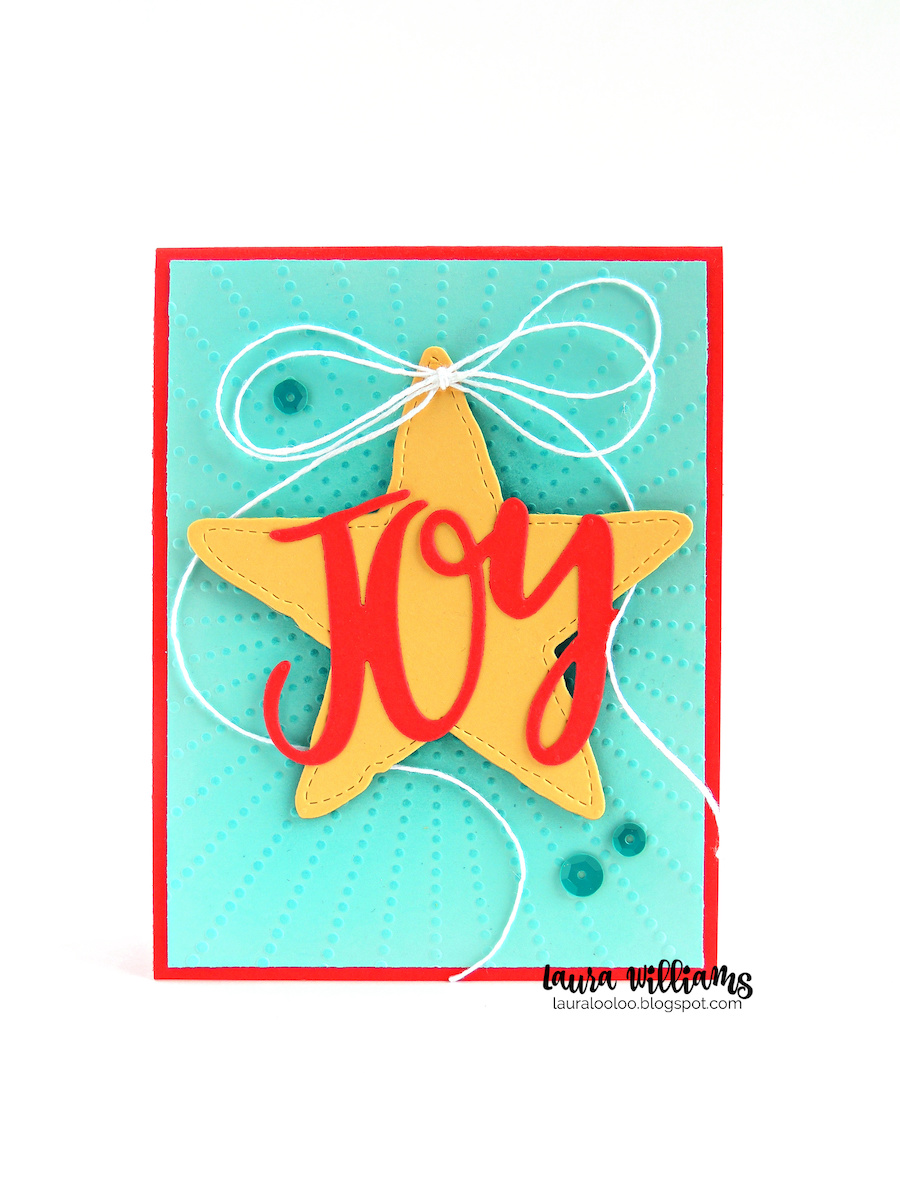
Today's first card is ALL Christmas, because after all, today is a Christmas edition of Die Cut Obsession Day. Two simple dies, on an embossed background, and this card is basically done. That makes it a great option for mass-producing Christmas cards! Easy peasy! I added a twine bow, and a few coordinating sequins, but wouldn't this card still be super cute if you needed to keep it a little more simple? You could also customize it with a patterned paper in the background instead of embossing. 

The Primitive Stitched Star has a few fabulous things going for it: it's BIG, perfect for filling a card base, it has darling stitched details, and it's great for Christmas. . . and birthdays. . . .and congratulations . . .and all occasion cards too!   Today's first card is ALL Christmas, because after all, today is a Christmas edition of Die Cut Obsession Day. Two simple dies, on an embossed background, and this card is basically done. That makes it a great option for mass-producing Christmas cards! Easy peasy! I added a twine bow, and a few coordinating sequins, but wouldn't this card still be super cute if you needed to keep it a little more simple? You could also customize it with a patterned paper in the background instead of embossing.
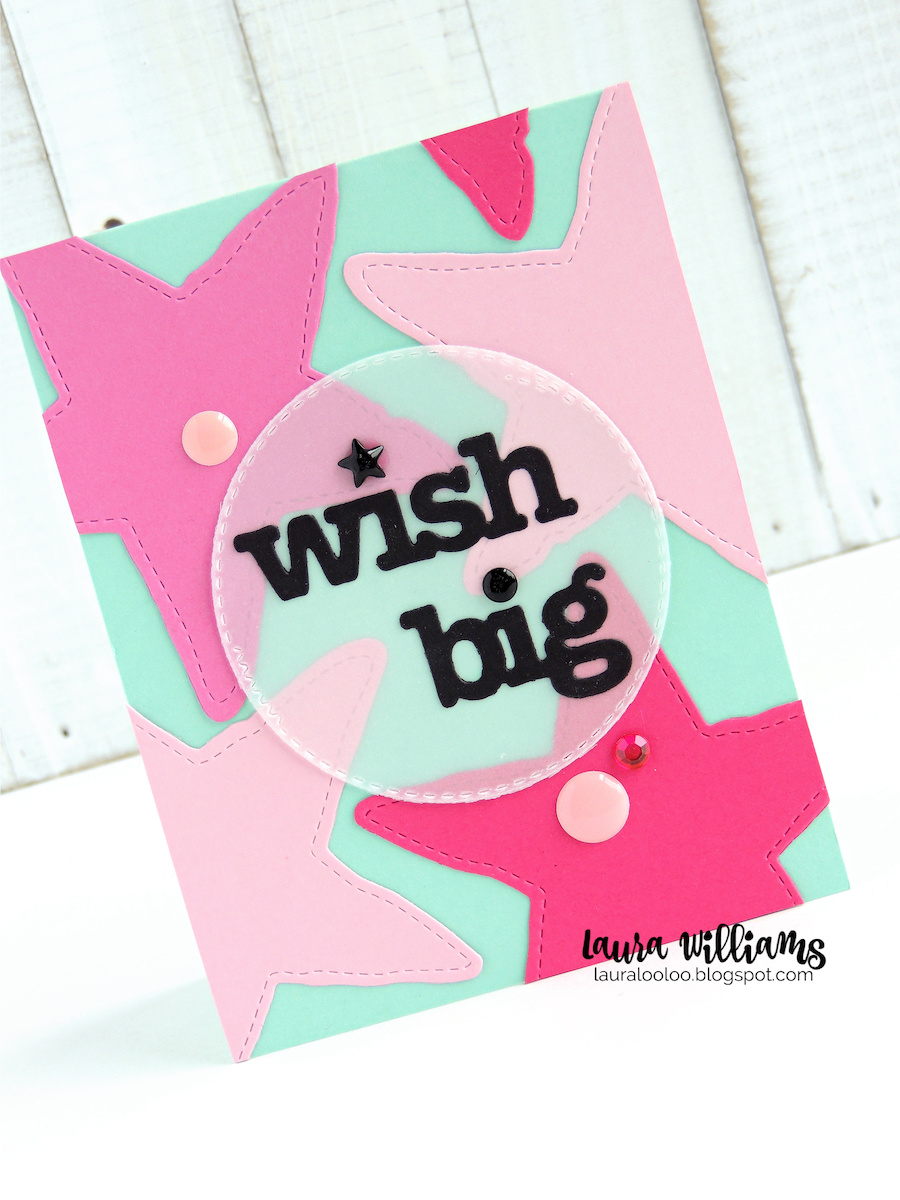
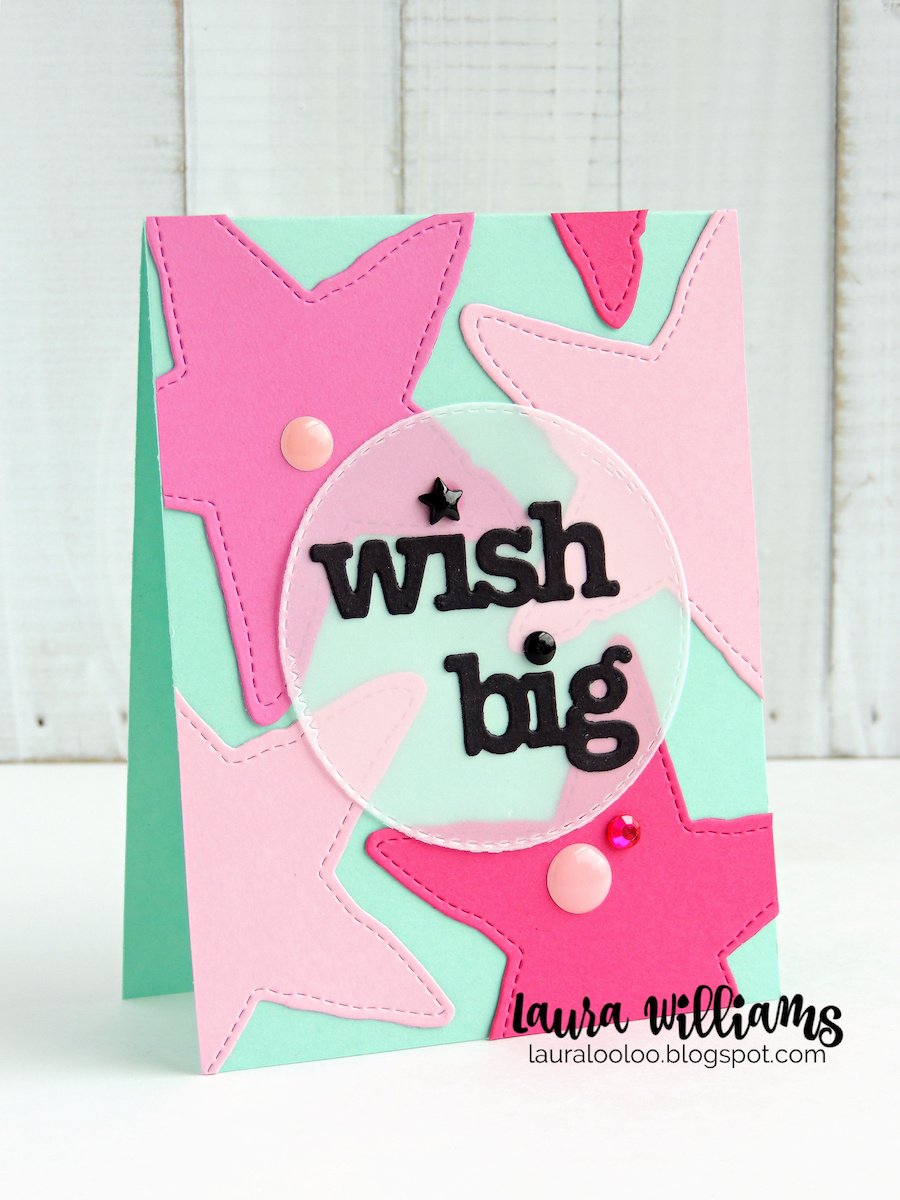
Next, I did something a little different with the Primitive Stitched Star. I die cut it a few times with different shades of pink cardstock. Then I created a background with it. It only takes a few stars to cover it, because often you can use parts of the same star to fill the space. Next, just die cut a vellum circle, and add a fun birthday sentiment die cut on top. The Birthday Words die set is perfect for adding a variety of birthday related words to handmade cards and crafts. The words can be mixed and matched for lots of cute possibilities. 
Next, I did something a little different with the Primitive Stitched Star. I die cut it a few times with different shades of pink cardstock. Then I created a background with it. It only takes a few stars to cover it, because often you can use parts of the same star to fill the space. Next, just die cut a vellum circle, and add a fun birthday sentiment die cut on top. The Birthday Words die set is perfect for adding a variety of birthday related words to handmade cards and crafts. The words can be mixed and matched for lots of cute possibilities.
Alright friends, be sure to stop by the Impression Obsession blog to see a list of all the designers participating in this Christmas edition of Die Cut Obsession Day. I know they have lots of festive holiday cards to share! 

Here's a couple things you don't want to miss:

Next, I did something a little different with the Primitive Stitched Star. I die cut it a few times with different shades of pink cardstock. Then I created a background with it. It only takes a few stars to cover it, because often you can use parts of the same star to fill the space. Next, just die cut a vellum circle, and add a fun birthday sentiment die cut on top. The Birthday Words die set is perfect for adding a variety of birthday related words to handmade cards and crafts. The words can be mixed and matched for lots of cute possibilities.
Shop the Supplies on Today's Cards


Wednesday, September 29, 2021

Be Afraid (No Not Really) - You'll Love These Happy Halloween Spiders

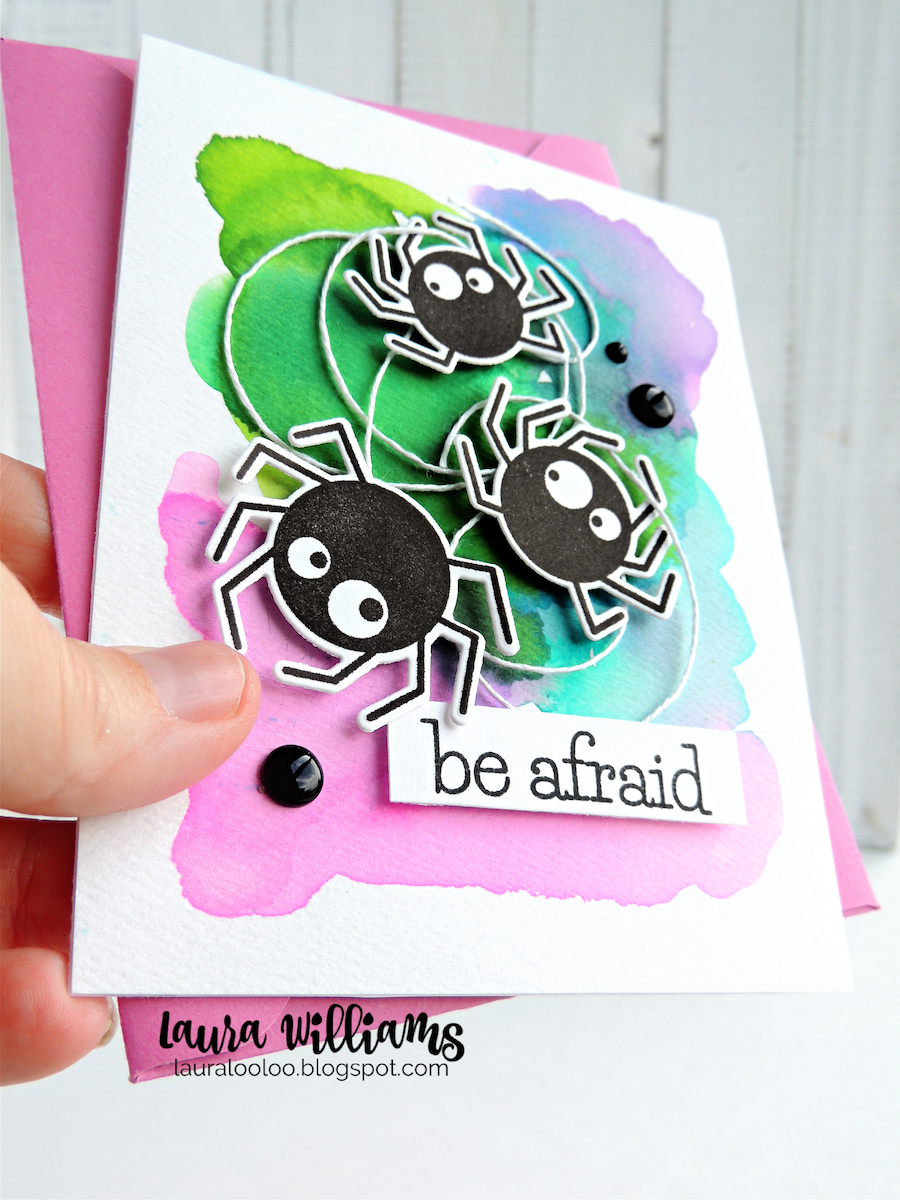
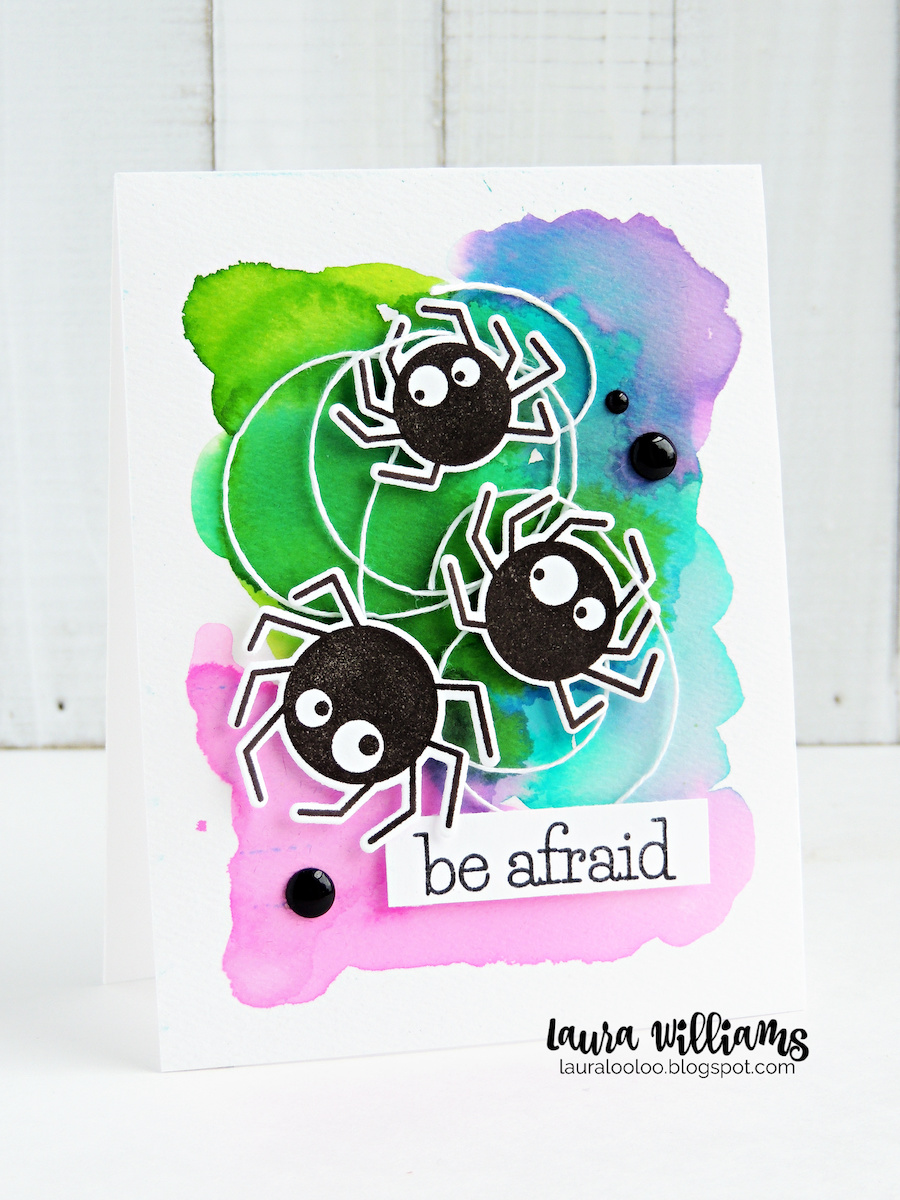
There's no need to fear spiders today! The adorable Spider Trio on today's handmade Halloween card is friendly, funny - and fun to craft with! 

This blog post contains affiliate links. When you shop through my links I receive compensation at no cost to you. Thank you from the bottom of my crafty heart!

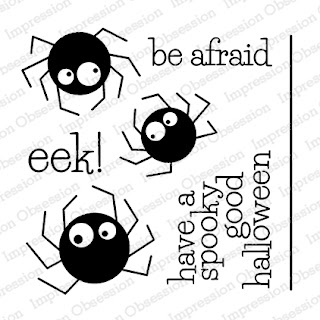
There's no need to fear spiders today! The adorable Spider Trio on today's handmade Halloween card is friendly, funny - and fun to craft with! I'll admit, the first thing I'd think if I looked at this card is "Who wants to cut out all those spiders? They're cute but . . . ." Not to fear - this super cute spider stamp set has a coordinating die set that is really easy to work with. Stamp your spiders and then pop the coordinating die on top and cut them out in a snap!
I'll admit, the first thing I'd think if I looked at this card is "Who wants to cut out all those spiders? They're cute but . . . ." Not to fear - this super cute spider stamp set has a coordinating die set that is really easy to work with. Stamp your spiders and then pop the coordinating die on top and cut them out in a snap!
I'm always about COLORFUL handmade Halloween cards, so I wanted to give these stamped and die-cut spiders a fun place to land. I started with a sheet of watercolor paper and added a bit of water plus Jane Davenport Inkredible Inks - they're liquid dye inks that react with water. . .lots of fun to experiment with. I just layered and blended the colors together and let it dry for a bit. Next I gathered up some white twine for the spider web, and popped the spiders on top with foam squares.
I'm always about COLORFUL so I wanted to give these guys a fun place to land. I started with a sheet of watercolor paper and added a bit of water plus Jane Davenport Inkredible Inks - they're liquid dye inks that react with water. . .lots of fun to experiment with. (I just gotta say it - they're on an AMAZING sale right now, so it's a great time to try out these inks!) I just layered and blended the colors together and let it dry for a bit. Next I gathered up some white twine for the spider web, and popped the spiders on top with foam squares. The twine, foam squares, and enamel dots give this card some really fun dimension.
Today's Halloween card idea is part of Die Cut Obsession Day on the Impression Obsession blog. It's the day we celebrate the awesome dies in our crafty stash! The Spider Trio dies are an important part of today's card - because who wants to perfectly cut around all those cute little spider legs? (eww, I never thought I'd use the words CUTE and SPIDER LEGS together in a sentence!)  Be sure to stop by the Impression Obsession blog for a list of designers sharing some die-cut goodness today!
Today's blog post is part of Die Cut Obsession Day on the Impression Obsession blog. It's the day we celebrate the awesome dies in our crafty stash! The Spider Trio dies are an important part of today's card - because who wants to perfectly cut around all those cute little spider legs? (eww, I never thought I'd use the words CUTE and SPIDER LEGS together in a sentence!)

Be sure to stop by the Impression Obsession blog for a list of designers sharing some die-cut goodness today!
Make a handmade Halloween card that's sweet and not spooky, with the Spider Trio stamps and dies from Impression Obsession. I created a colorful background with watercolor, added white twine as a cobweb, and then popped three of these friendly stamped and die-cut spiders on top with foam tape. They're adorable! Stop by my blog to see more about this card, plus lots more Halloween cardmaking inspiration!

Did you like today's card making idea? Let's connect again - subscribe so you don't miss a blog post! 

Shop the Supplies on Today's Card:
Jane Davenport Inkredible Inks - ON SALE NOW at Spellbinders!
 I used Mermaid Tail, Limeade, Fairy Floss, Violet Syrup and Fresh Air

Looking for more watercolor ideas? Check out this blog post: