Showing posts with label shaped cards. Show all posts

Monday, August 15, 2022

Nick Nack Batty Whack {Brand New Stamps for Halloween!}

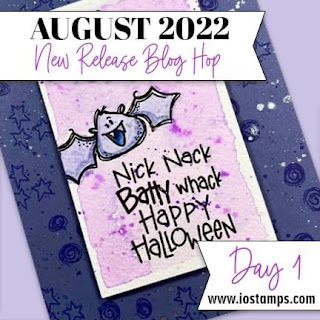
Other than the candy, guess what's my favorite part of the Halloween season? MAKING HALLOWEEN CARDS! When you're a crafter like we are, the seasons start early so we have time to get all our seasonal crafting done  - so believe it or not, it's time to start thinking about fall card making and crafts! Today the Impression Obsession designers are showcasing the August release, and you'll be feeling BATTY over these brand new Halloween goodies (plus so much more!) 

This blog post contains affiliate links. When you shop through my links I receive compensation at no cost to you. Thank you from the bottom of my crafty heart!

Other than the candy, guess what's my favorite part of the Halloween season? MAKING HALLOWEEN CARDS! When you're a crafter like we are, the seasons start early so we have time to get all our seasonal crafting done  - so believe it or not, it's time to start thinking about fall card making and crafts! Today the Impression Obsession designers are showcasing the August release, and you'll be feeling BATTY over these brand new Halloween goodies (plus so much more!) Both of today's cards are slightly non-traditional shaped. First up, a mini slimline card which comes together easily with that Pinked Mini Slimline die. The mini slimline size has some flexibility, generally somewhere around 3.5x6 or so. This particular card is 3.25x5.75 which is the perfect size for this die.  For both cards, I colored these adorable bats, brand new from the Batty Halloween clear stamp set, using markers in shades of purples. Purple is a fun color to use instead of black or dark gray, to really let those cute faces (and fangs) stand out.

Both of today's cards are slightly non-traditional shaped. First up, a mini slimline card which comes together easily with that Pinked Mini Slimline die. The mini slimline size has some flexibility, generally somewhere around 3.5x6 or so. This particular card is 3.25x5.75 which is the perfect size for this die.

For both cards, I colored these adorable bats, brand new from the Batty Halloween clear stamp set, using markers in shades of purples. Purple is a fun color to use instead of black or dark gray, to really let those cute faces (and fangs) stand out. 
Both of today's cards are slightly non-traditional shaped. First up, a mini slimline card which comes together easily with that Pinked Mini Slimline die. The mini slimline size has some flexibility, generally somewhere around 3.5x6 or so. This particular card is 3.25x5.75 which is the perfect size for this die.  For both cards, I colored these adorable bats, brand new from the Batty Halloween clear stamp set, using markers in shades of purples. Purple is a fun color to use instead of black or dark gray, to really let those cute faces (and fangs) stand out.
Next up, I'm always a fan of circle-shaped cards. (Check out my super simple tutorial for creating your own circle cards in any size!) One of my favorite products for adding details on cards is the Gelly Roll Pen from Sakura. (You can find them at Simon Says Stamp, in a variety of thicknesses, but I prefer the Bold Line 10.) I stamped the stars on the yellow layer of this card and then colored them in white white pen.
Other than the candy, guess what's my favorite part of the Halloween season? MAKING HALLOWEEN CARDS! When you're a crafter like we are, the seasons start early so we have time to get all our seasonal crafting done  - so believe it or not, it's time to start thinking about fall card making and crafts! Today the Impression Obsession designers are showcasing the August release, and you'll be feeling BATTY over these brand new Halloween goodies (plus so much more!)  I'm always a fan of circle-shaped cards. (Check out my super simple tutorial for creating your own circle cards in any size!) One of my favorite products for adding details on cards is the Gelly Roll Pen from Sakura. (You can find them at Simon Says Stamp, in a variety of thicknesses, but I prefer the Bold Line 10.) I stamped the stars on the yellow layer of this card and then colored them in white white pen.

Here are the important details on the August Release Blog Hop:

  • Check the Impression Obsession blog each day, August 15-17 for links to NEW inspiration featuring the new  stamps, dies, stencils and paper packs!  
  • THREE lucky winners will be chosen from the comments to win a $25 gift certificate from Impression Obsession, so the more you comment through our celebration the more chances to win!
  • Comments for each post will be open until Tuesday August 23rd at 8pm CT. Winners will be announced the next day on the Impression Obsession Blog.
  • Lastly, be sure to check out the entire new release on the Impression Obsession website!
Check out the designers participating in today's blog hop:
Laura Williams <<you are here>>

Shop the Supplies on Today's Cards:

Gelly Roll 10 white gel pen from Simon Says Stamp
Gelly Roll 10 white pen  (from Simon Says Stamp)
Did you know you can also find a variety of IO stamps carried at Simon Says? 
I love using the Magic Mat with my die cutting machine, because it alleviates those pesky cutting lines on the underneath side of die cut shapes. You know, the ones from your best used cutting plates? 

I've never wanted to invest in expensive markers, and I have been REALLY happy with this 100-marker set from Caliart. They're a great price, there's a good assortment of colors, and they work really well for me. 
Today the Impression Obsession designers are showcasing the August release, and you'll be feeling BATTY over these brand new Halloween goodies (plus so much more!)  Both of today's cards are slightly non-traditional shaped. First up, a mini slimline card which comes together easily with that Pinked Mini Slimline die. The mini slimline size has some flexibility, generally somewhere around 3.5x6 or so. This particular card is 3.25x5.75 which is the perfect size for this die.  For both cards, I colored these adorable bats, brand new from the Batty Halloween clear stamp set, using markers in shades of purples. Purple is a fun color to use instead of black or dark gray, to really let those cute faces (and fangs) stand out.Let's connect again - subscribe so you don't miss a blog post! Plus, follow me on Pinterest where I'm sharing crafty projects every day!

Monday, March 7, 2022

Three More Cute Ideas for Making Simple Circle-Shaped Cards

I am absolutely smitten with circle-shaped handmade cards. They are fun to decorate and they're quite simple to make. Today I've got THREE new circle-shaped cards to share with you, as we celebrate the latest release from Impression Obsession! This is the first stop on the blog hop and you do NOT want to miss the cute cards, new stamps, and PRIZES along the way, so let's get hopping!

This blog post contains affiliate links. When you shop through my links I receive compensation at no cost to you. Thank you from the bottom of my crafty heart!
Do you love to make shaped cards? These handmade card ideas for circle shaped cards are simple to create with die-cutting and stamping. Stop by my blog for three (or more) circle cards and simple instructions to make them yourself! You'll love this fun paper crafted project!

Have you ever created a circle-shaped card before? I promise, it's so simple:

  • First, die cut two circles that are the same size. (Think about the size circle you want your card to be, and if you want to use a fancy circle like a scalloped circle or stitched circle.)
  • Fold the top edge of one circle and crease well. Use a scoring board and/or a bone folder for a super crisp fold.
  • Add adhesive to the folded flap and stick the other die-cut circle on top to adhere the circles together. Hooray! You just created a circle card base! (For a photo of this step, check out this post.)
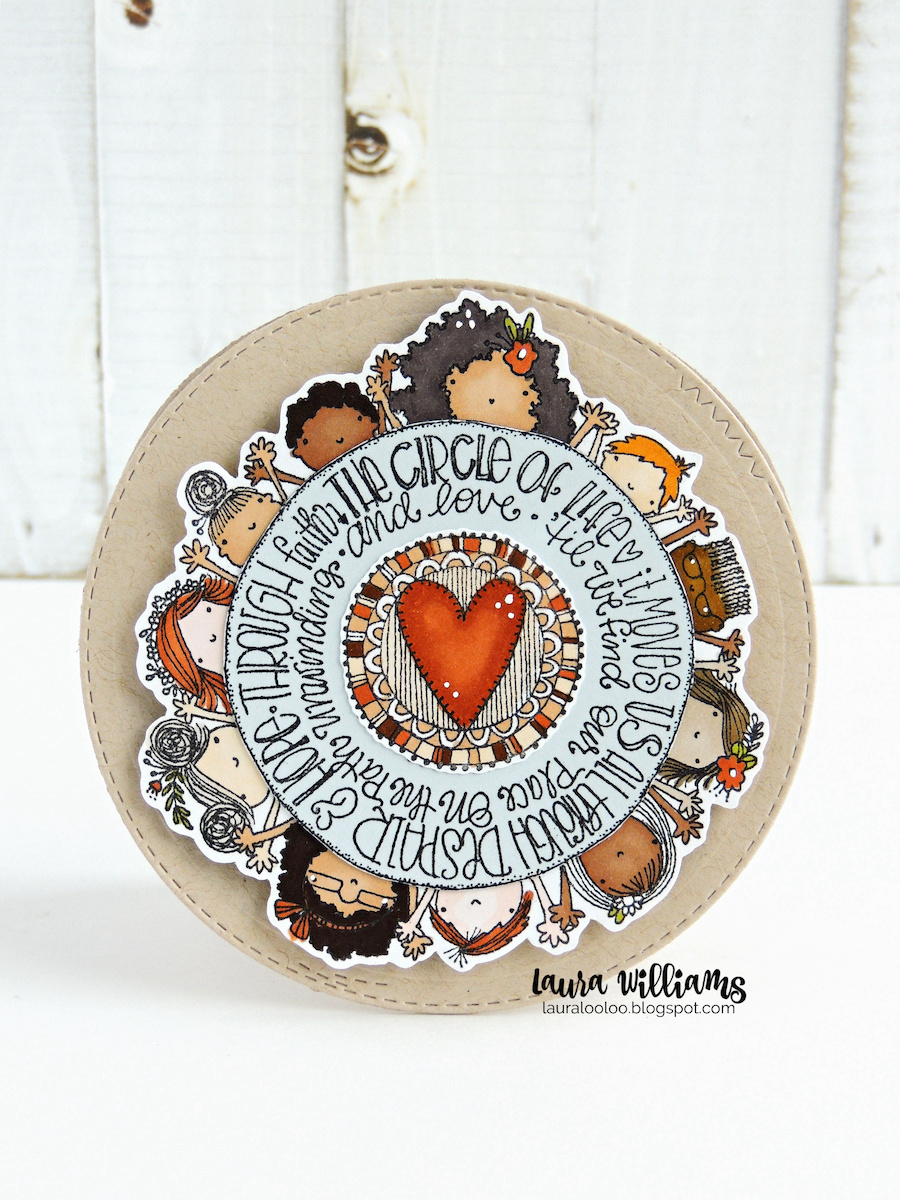
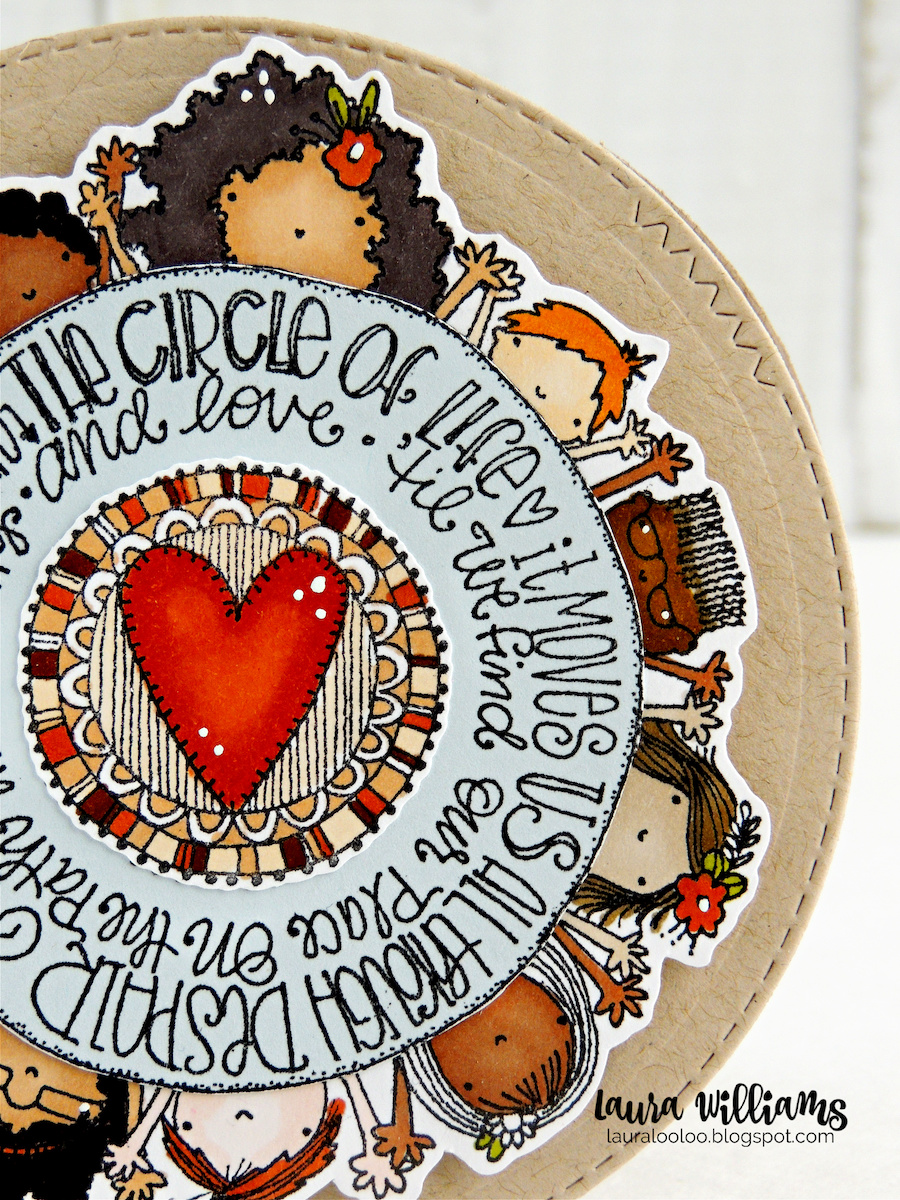
Circle of Life - this circle-shaped card was fun to color and fussy cut onto a circle card base. Stop by my blog to see a simple tutorial for making circle shaped handmade cards with circle dies. It's simple and you'll have fun with this paper crafting project. Stop by my blog for three (or more) fun ideas!
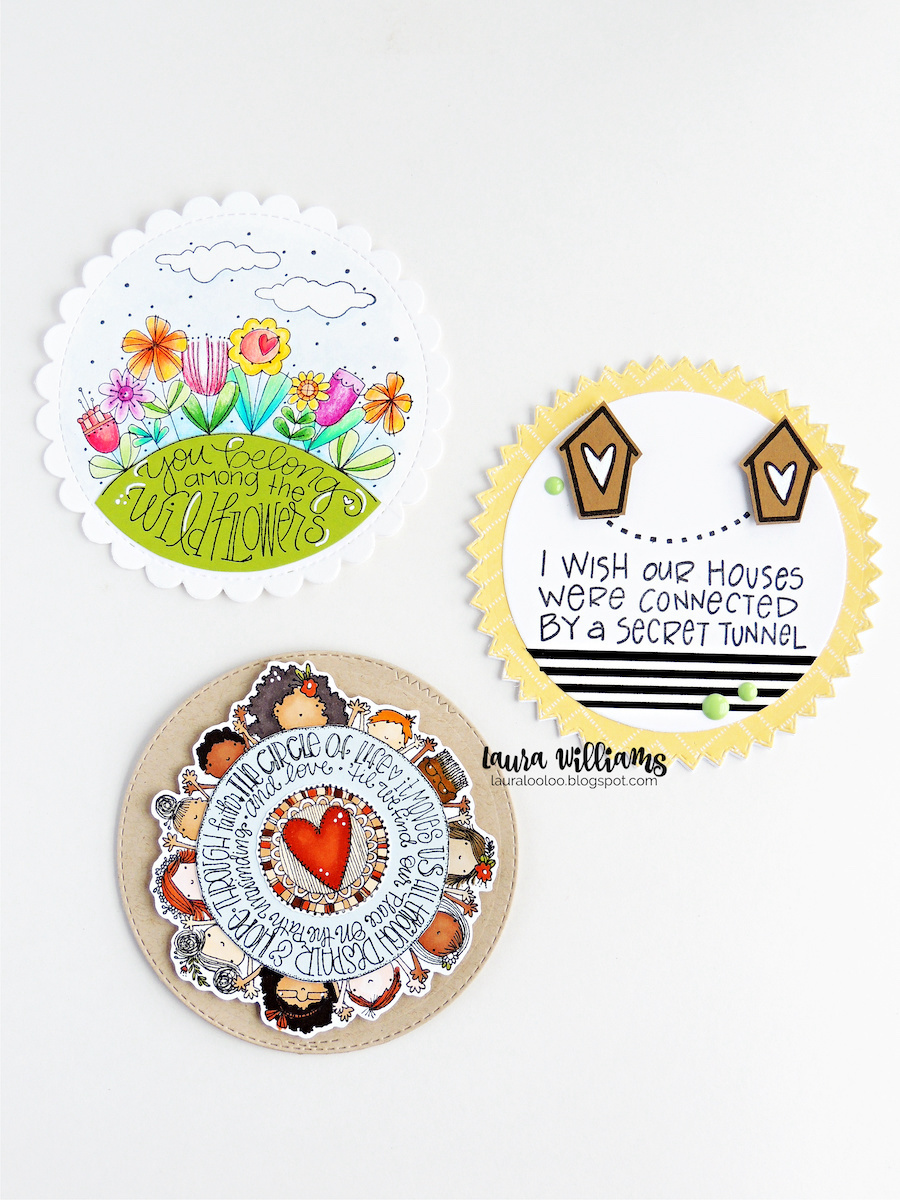
After creating a card base, now comes the fun part - decorating it! Two of the brand new stamps from Impression Obsession are what inspired today's circle cards. The first card features the Circle stamp. The round format is such fun to play with. I stamped the image on white cardstock and I colored it with markers, then fussy cut it to adhere to my card base.  

I don't color enough to invest in expensive markers, but I do enjoy coloring so I recently took a risk and purchased Caliart alcohol markers from Amazon. I didn't know if they'd be good or not but I actually REALLY like them and they were a great price (less than $40 last time I checked) for 100 markers! I've been having fun with them. 
closeup of a handmade circle shaped card using stamps and dies from Impression Obsession. Stop by my blog to see three (or more) circle shaped card making ideas with simple circle dies.
After coloring, I stamped the image again and trimmed the center layers to add on top. I added some details with white gel pen, which adds a nice finishing touch! I absolutely love how this card turned out.

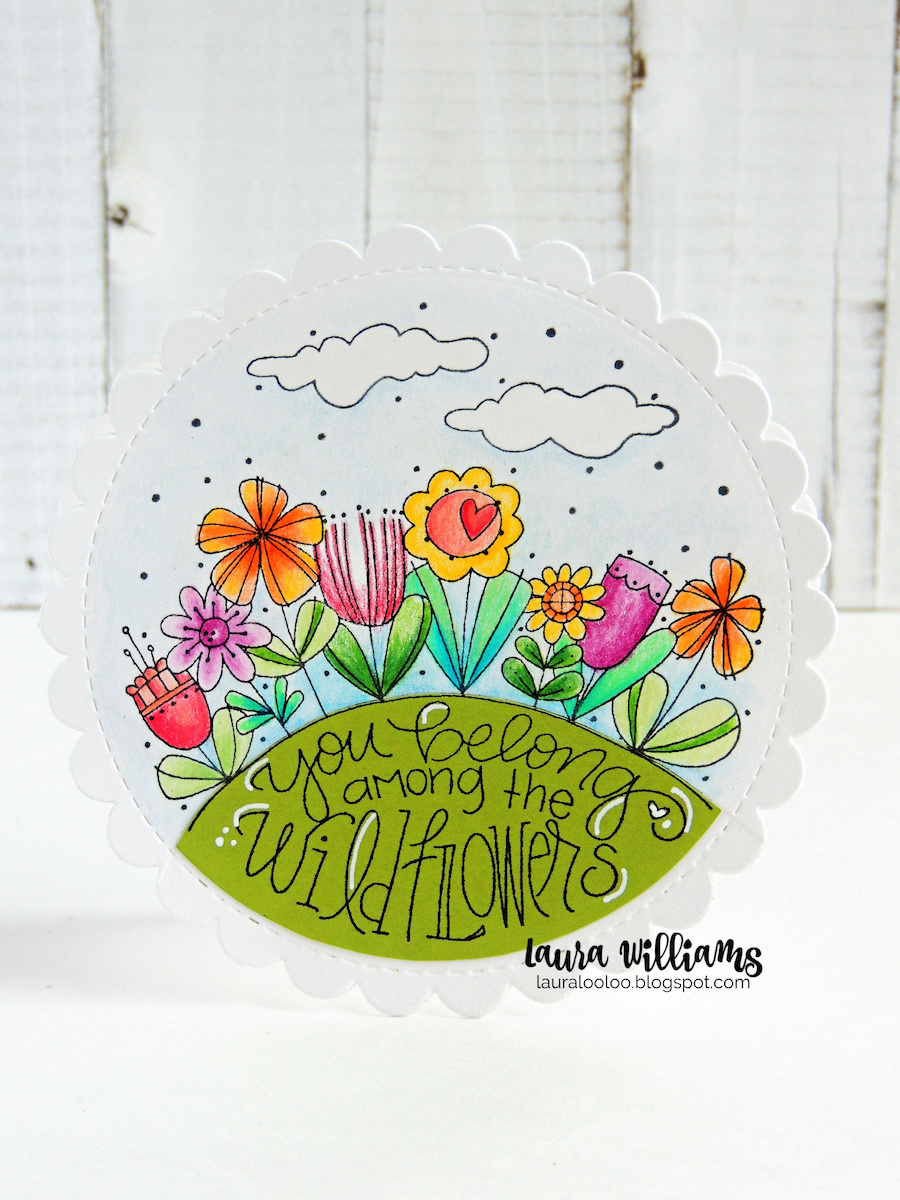
The next round image in this release is called Among the Wildflowers, and it's another sweet one for coloring. I used a combination of colored pencils and watercolor pencils to shade the flowers. Then I stamped the image on green cardstock and layered the grass on top. I finished it off again white gel pen.
You belong among the wildflowers! Stop by my blog to see three beautiful circle-shaped cards with simple instructions. All you need are some circle dies to create circle cards quickly and easily. You'll love these cardmaking ideas!
Lastly, here's an example of how to take non-round stamps and create a circle-shaped card. I added a strip of washi tape to ground this scene, and added the darling House to House and I Wish stamps. (See the white gel pen again? I can't stop!)
I wish our houses were connected by a tunnel - the cutest sentiment for a handmade card to say I MISS YOU! Stop by this blog post for three ideas for circle-shaped cards, made with simple nesting dies.
Here are the important details on this week's blog hop:
  • We're giving away THREE Impression Obsession $25 gift certificates for our two-day blog hop - the more you comment, the more chances to win, so be sure to visit all the designers!
  • All comments for both days will be open until March 15th at 8pm CT. All winners will be announced on March 16th on the Impression Obsession Blog.
  • Find all of Impression Obsession's newest releases HERE
Here's the lineup of today's hop!

Shop the Supplies on Today's Cards:


Gelly Roll 10 white gel pen from Simon Says Stamp
Gel Roll 10 white pen  (from Simon Says Stamp)
Did you know you can also find a variety of IO stamps carried at Simon Says? 
I love using the Magic Mat with my die cutting machine, because it alleviates those pesky cutting lines on the underneath side of die cut shapes. You know, the ones from your best used cutting plates? 

links updated 4/23


Tuesday, September 22, 2020

Learn to Make This Cute Hexagon-Shaped Card Set!

Hey there crafty peeps! Today I have a cute card set to share with you today. It's not just any card set though, it's a mini hexagon-shaped card set! What in the actual cuteness!? This project is so much fun, and although it's INCREDIBLY simple, it has a fun WOW factor because of the shape. 

This blog post contains affiliate links. When you purchase through my links I receive compensation at no cost to you. Thank you from the bottom of my crafty heart!
Click here to learn how to make a mini hexagon-shaped card set using stamps and dies from FSJ + Spellbinders. Die cut hexagons, and score or fold on one edge to adhere them together, and then embellish with stamped sentiments and patterned paper. #cardmaking #handmadecards
Let's dive right in and I'll show you how to make this simple shaped card. The front and back of the card are going to be two separate pieces. For the example I'll show you, the back or inside panel is white and the card front will be black. 
  • Die cut two hexagons in the same size. (In this case, one white and one black)
  • Score (or fold) a line near the edge of the white die cut rectangle. There's no precise measurement, just eyeball it to see what looks wide enough to add adhesive in the next step.
Use die cut shapes and a scoring board to make a simple hexagon shaped handmade card in any size.
  • Fold over the scored edge. Apply adhesive along fold - I prefer a tape runner style.

How to make a hexagon shaped handmade card using diecut shapes and a scoring board
  • Layer the black hexagon on top, lined up with the white one. Press down the adhesive fold to attach them together. 
How to make a hexagon shaped handmade card using diecut shapes and a scoring board.
Now comes the fun part - decorating your adorable hexagon shaped card! I made two sizes of hexi cards. You can make these cards any size you'd like, based upon the size of your dies. Hexagons are a great shape to use because these cards will still stand up easily on a flat surface because of their straight edged bottom. 

Click here to learn how to make hexagon shaped handmade cards. Hexagons are a great shape for homemade cards because they have a flat bottom so they'll still stand up on a flat surface. Check out this tutorial to learn just how to create this fun handmade project.
To embellish these cards I used some of my favorite patterned papers and simple stamped and die-cut sentiments. The best part? This paper is on sale for SO cheap in the clearance section of the Spellbinders website. Like honestly people. It's an amazing deal for an entire pack of 12x12 printed paper. 
Have you ever made a shaped handmade card in a size other than square or rectangle? It's such fun to make homemade cards in unexpected shapes and sizes. This set of mini hexagon shaped cards is simple to make with nesting die cut shapes and a scoring board. Click here to see just how to make this project yourself!
Nesting dies make this project so simple. Just grab the next size smaller than your card, die cut some patterned paper and adhere to the card base. Then stamp and die cut simple sentiments. The Celebration Script stamp set is a great one because the sentiments have so much personality, that you really don't need anything extra. These hexagon cards would make a fun gift set, or just whip them up to add to gift bags and presents throughout the year. 
Make handmade cards in cute hexagon shapes using dies and stamps from FSJ + Spellbinders. Click here to see a simple tutorial for making shaped cards, like these hexagon shaped cards.


Supplies on Today's Cards:
Hexagon shaped nesting dies for paper crafting - I love using hexagon dies to make hexagon shaped mini cards and tags. Check out this blog posts for all the details on this fun cardmaking project!
Hexagons Die Set

Note: the Spellbinders hexagons above are discontinued, but here are some others from scrapbook.com,  that will work perfectly too: Hero Arts Infinity Dies Hexagons, and Honey Bee Honey Cuts Hexagon Solid Stacks


I love using the Magic Mat with my die cutting machine, because it alleviates those pesky cutting lines on the underneath side of die cut shapes. You know, the ones from your best used cutting plates? 
Learn to make hexagon and circle shaped cards with simple die cutting! Stop by to see lots of examples and a super simple tutorial.

links updated 8/22/24

Monday, May 11, 2020

How to Make Simple Circle-Shaped Cards

Have you ever made a circle-shaped handmade card? It's easier than you may think and you'll have a blast with this unexpected shape for a card base. Today, I'll show you how to make one with simple diecutting, and we'll look at three different ideas for circle-shaped cards.

This post contains affiliate links. When you shop through my links, I may receive compensation at no cost to you. Thank you from the bottom of my crafty heart!
Here are the super simple instructions:
  • Die cut two circles that are the same size. (Think about what size circle you want your card to be.)
  • Next, fold the top edge of one circle down and crease it. (See photo below.) Use a scoring board and/or a bone folder for a super crisp fold.
  • Add adhesive to the folded flap, and stick the other die-cut circle on top.
  • Embellish and create as desired. 

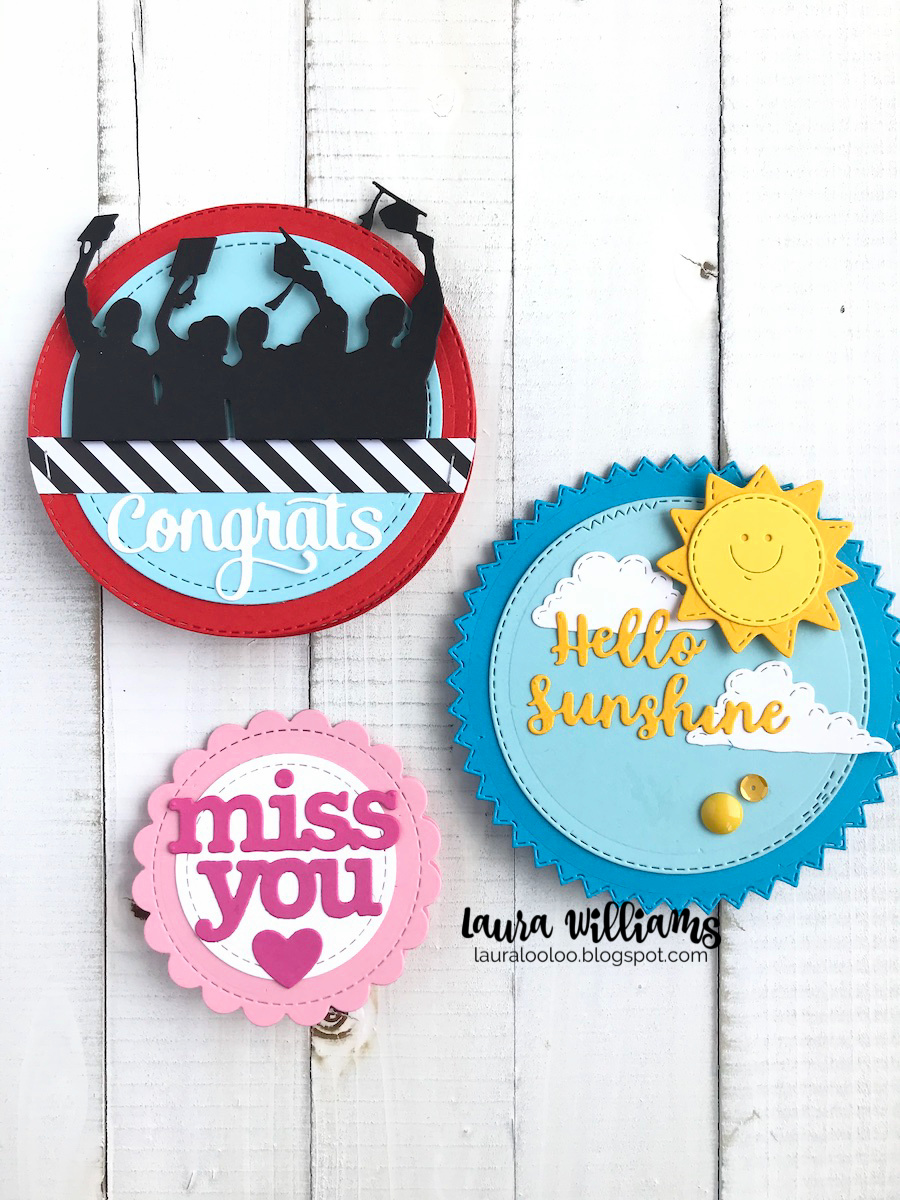
 Today I've created three different varieties of circle shaped cards. The first one, Hello Sunshine, is fun for spring and summer cards and the pinked edges are a perfect finishing touch from this die. (The pinked edges help the card to stand up straight too!) And how sweet is that smiling sunshine?
The graduation card I made features simple stitched circle dies - I'll admit that although I love this card, the smooth circle die doesn't stand up as easily. But it's certainly not a deal-breaker, and this is a fun card to pin to a bulletin board or place on the fridge. I love the detail of the graduates coming just off the top edge of the card base. 

Remember, any circle can become a cute circle shaped card. For the scalloped card below, I made a mini-card. I used a smaller circle size which would make a darling tag or mini card to tuck in a gift, lunchbox, or suitcase. Again, the design is SUPER simple, because with this fun unexpected shape, it doesn't take much to make these cards look great!
Today's post is part of Impression Obsession's Die Cut Obsession Days. The IO designers are sharing fun ideas with dies and diecutting, and I hope you'll stop by all of the blogs to be inspired today! Head to the Impression Obsession blog to find links to everyone participating. And then . . .go try a circle shaped card! (Be sure to share it with me too, I'd love to see what you create!)

Shop the Supplies for Today's Cards:
I love using the Magic Mat with my die cutting machine, because it alleviates those pesky cutting lines on the underneath side of die cut shapes. You know, the ones from your best used cutting plates? 

Three more simple handmade circle card ideas using stamping and die cutting
Thanks for stopping by! Let's connect again - subscribe so you don't miss a blog post! Plus, follow me on Pinterest where I'm sharing crafty projects every day!
links updated 4/23